Blinking Halloween Crafts

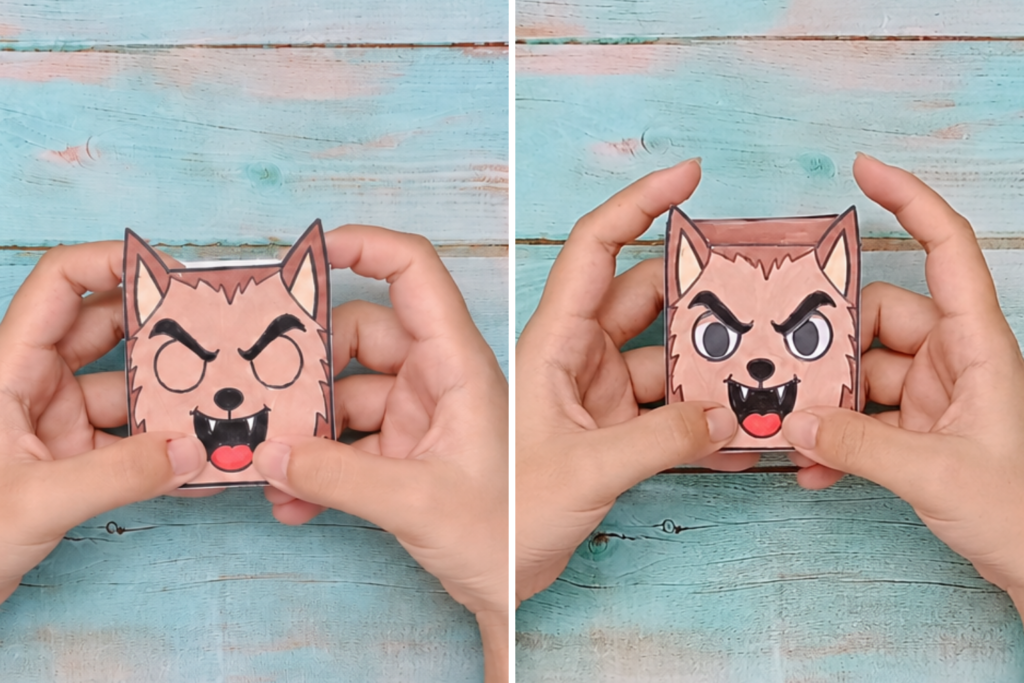
This printable includes six Halloween designs, including a witch, vampire, werewolf, mummy, Frankenstein, and pumpkin. Kids can color and assemble their favorite ones, then make their eyes open and close for a fun little bit of movement.
It’s a simple paper craft, but watching the eyes blink makes these Halloween friends feel a little more alive.
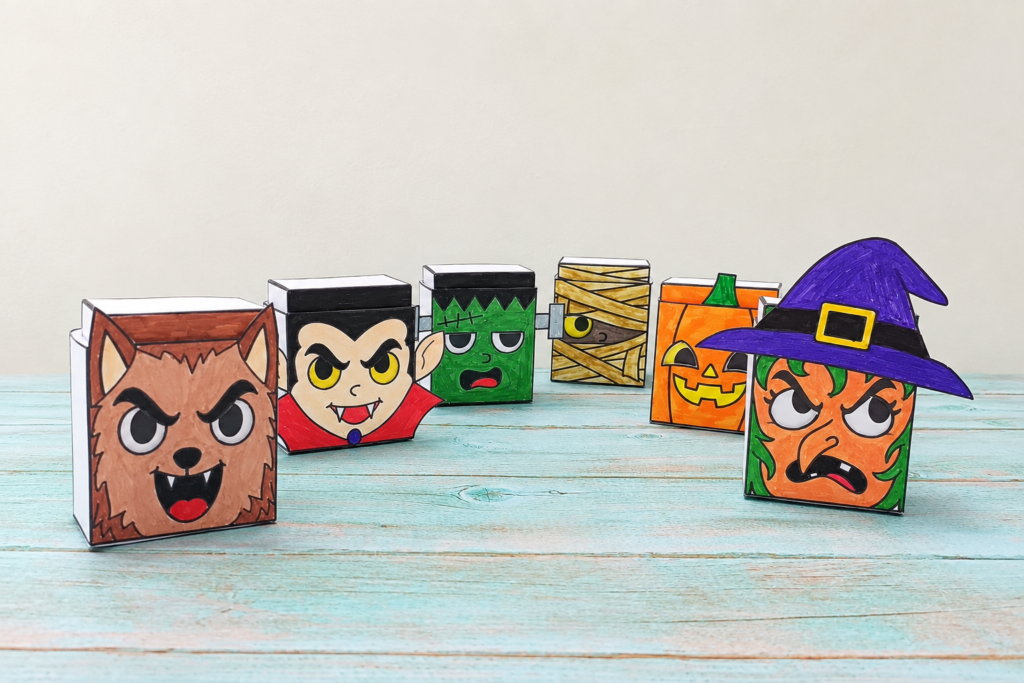
Imagine a Halloween party filled with all the usual spooky characters — Frankenstein, a vampire, a mummy, a werewolf, a witch, and a pumpkin. But instead of looking scary, they all have funny little expressions that make them look much more playful and adorable.
I wanted to turn these spooky Halloween characters into something a little more playful and kid-friendly. Their silly faces make the whole group feel less frightening and much more fun to have around.
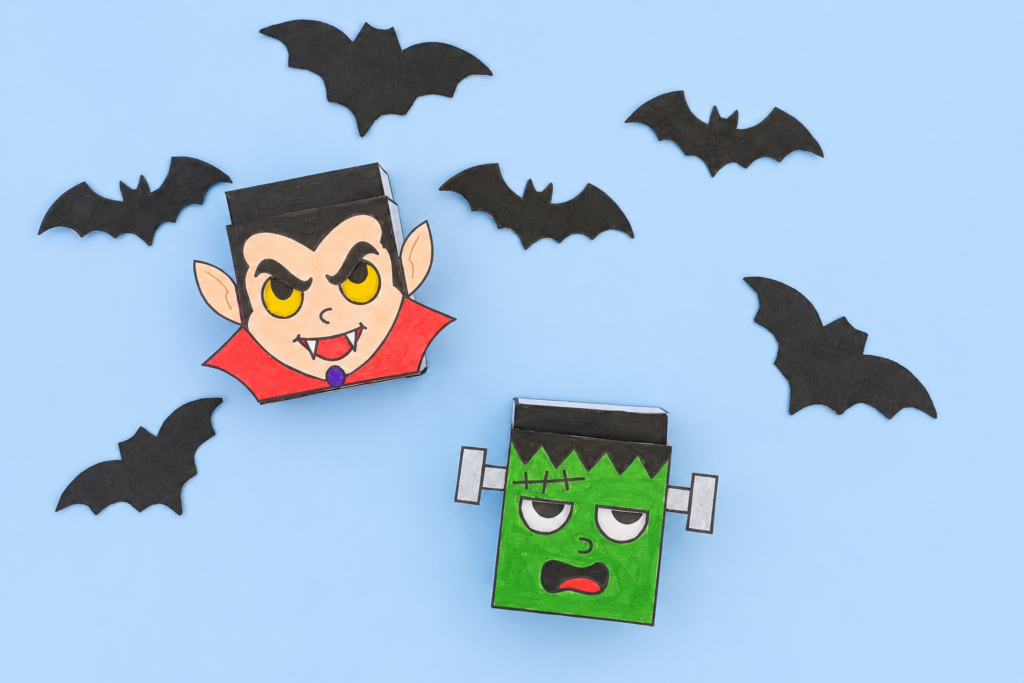
But it doesn’t stop there — these little Halloween friends can blink too!
Once their eyes start opening and closing, those funny expressions become even more adorable. I’m sure little kids will have a great time making them blink and watching their Halloween friends come to life.
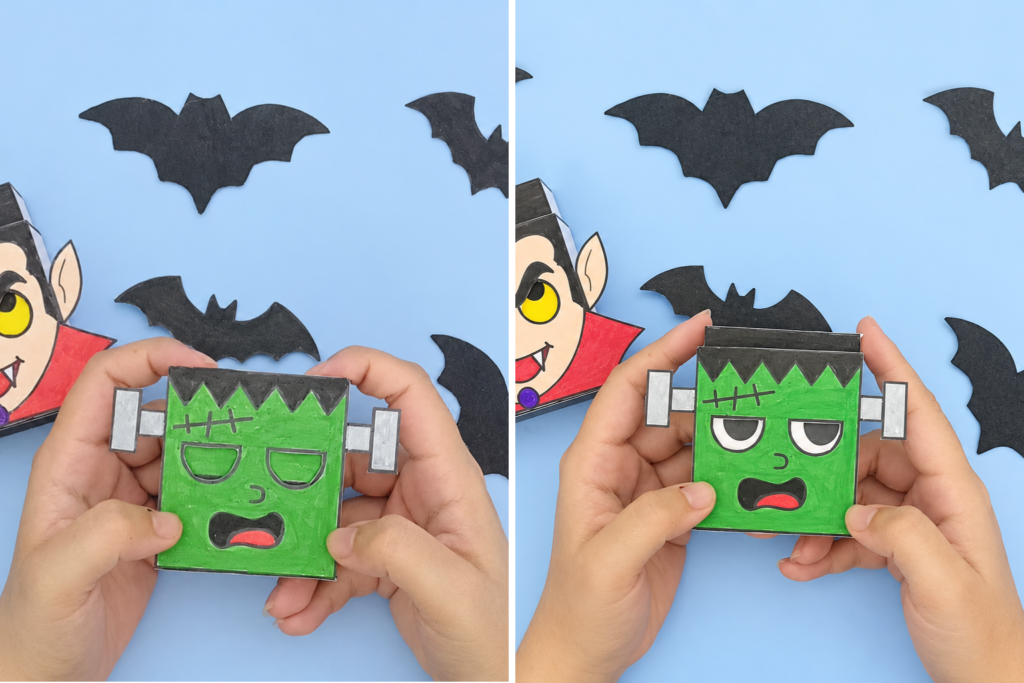
And who says grown-ups won’t fall for them too? With those silly faces and blinking eyes, I think these little friends are pretty hard to resist.
They’d make a fun addition to your Halloween collection this year, whether you’re making them with the kids or simply want some cute little Halloween friends to enjoy during the holiday.
Learning Through Making This Blinking Halloween Crafts
Making these Halloween friends gives kids plenty of opportunities to practice fine motor skills through hands-on paper work. Coloring, cutting, folding, and gluing all require careful hand movements and coordination, especially when working with the smaller pieces.
The craft also gives kids room to make their own creative choices. They can choose the colors for each friend, change up the patterns, and decide how spooky, silly, or colorful they want their Halloween friends to look.
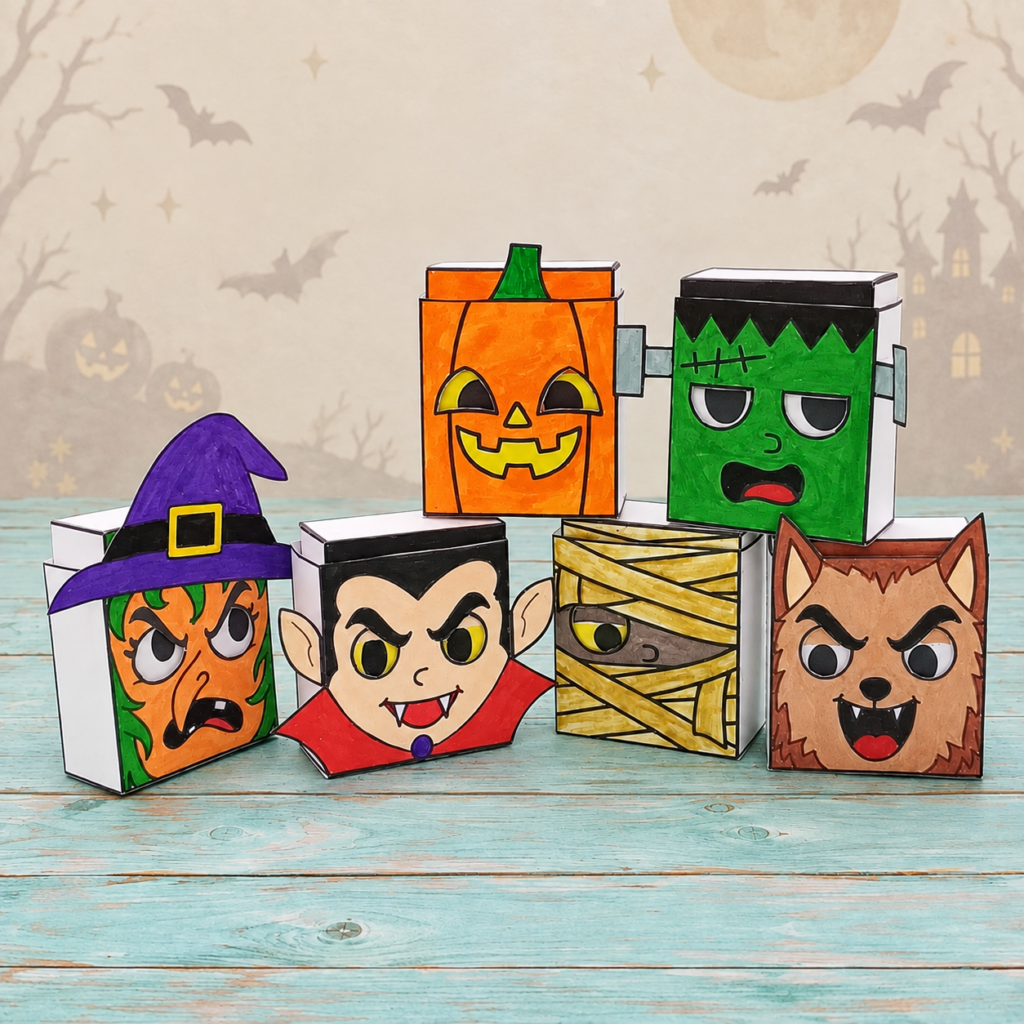
The blinking eyes add another interesting part to the project. Kids get to see how the different paper pieces work together to create movement, which can make the finished craft feel more interactive than a paper craft that simply sits on the table.
Working through the different steps also gives kids practice with following instructions, paying attention to details, and staying focused on a project. They get to put the pieces together one by one and see how a few simple paper parts can turn into a Halloween friend that actually moves.
Ideas for the Classroom and Homeschool
These Halloween Friends can fit nicely into a Halloween-themed art activity or a lesson about Halloween characters and seasonal traditions. Kids can choose a friend they like, talk about what makes that character recognizable, and then make their own paper version.
The printable could also be used as part of a storytelling activity. After making their Halloween friend, kids could give it a name and imagine what it does on Halloween night. Maybe the witch is getting ready for a Halloween party, the vampire is looking for a spooky place to visit, or the mummy has just escaped from an ancient tomb.
You could also make several friends and use them together for a simple Halloween story. Kids could create a little scene, decide how the friends know each other, and come up with an adventure for all of them.
For younger children, the activity can stay focused on coloring, cutting, assembling, and making the eyes blink. Older kids can take it further by writing a short story, creating character descriptions, or making their own Halloween scene with several of the friends.
Blinking Halloween Craft Step By Step Guide
Supplies Needed
- Cardstock
- Markers, crayons, or colored pencils
- Scissors
- Glue
- The Blinking Halloween Craft Templates
Blinking Halloween Craft Instructions
Step 1: Print the Blinking Halloween Craft Templates on cardstock.
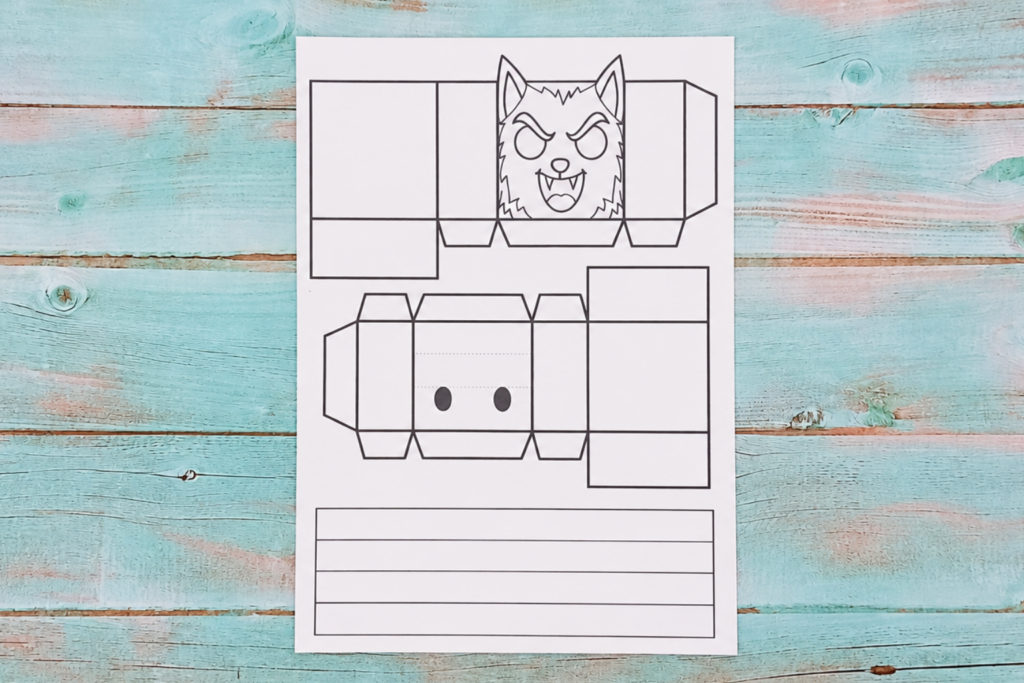
Step 2: Color the werewolf with colored pencils, crayons, or markers.

Step 3: Carefully cut out all the pieces along the outlines.

Step 4: Fold along the lines printed on the outer box piece.
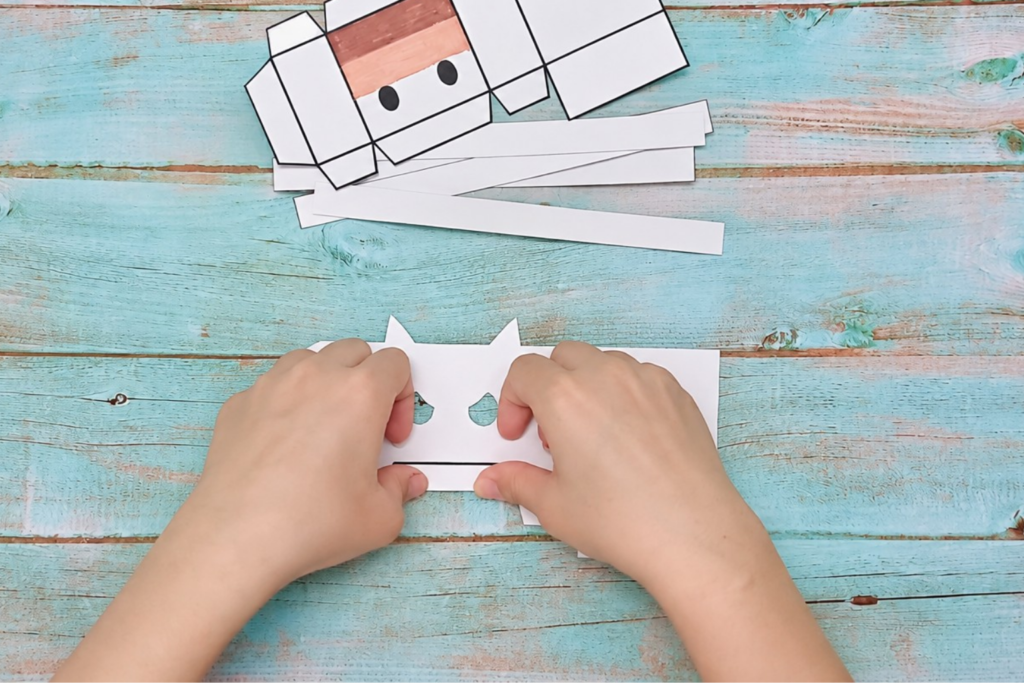
Step 5: Apply glue to the tab, then press and hold it firmly against the inside of the adjacent panel for a few seconds until the glue sets.

Step 6: Repeat Steps 4 and 5 for the inner box piece.
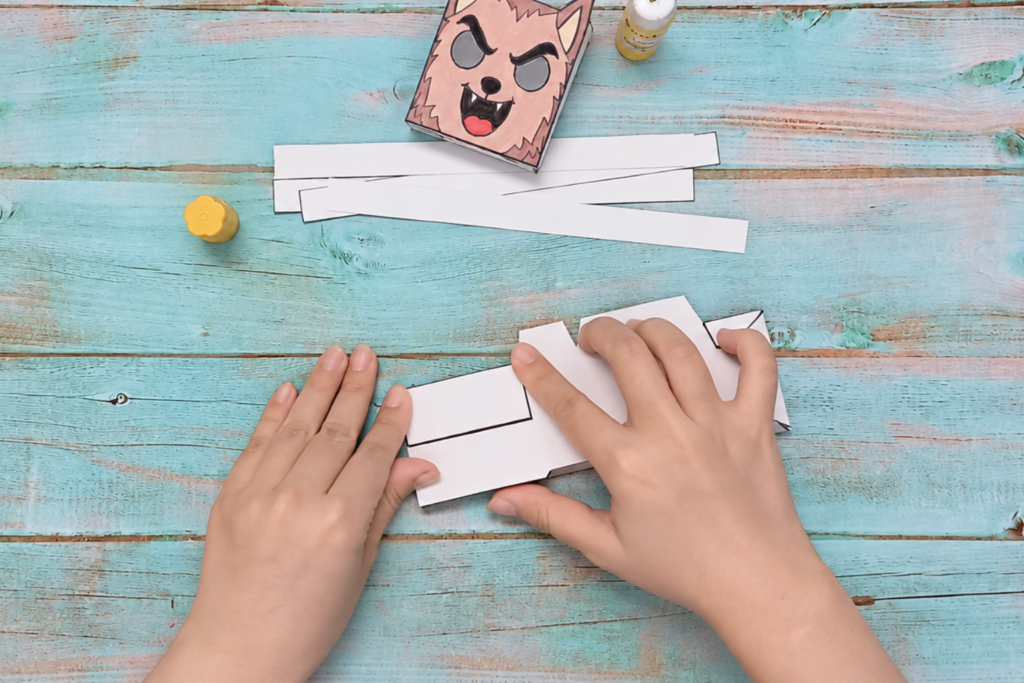

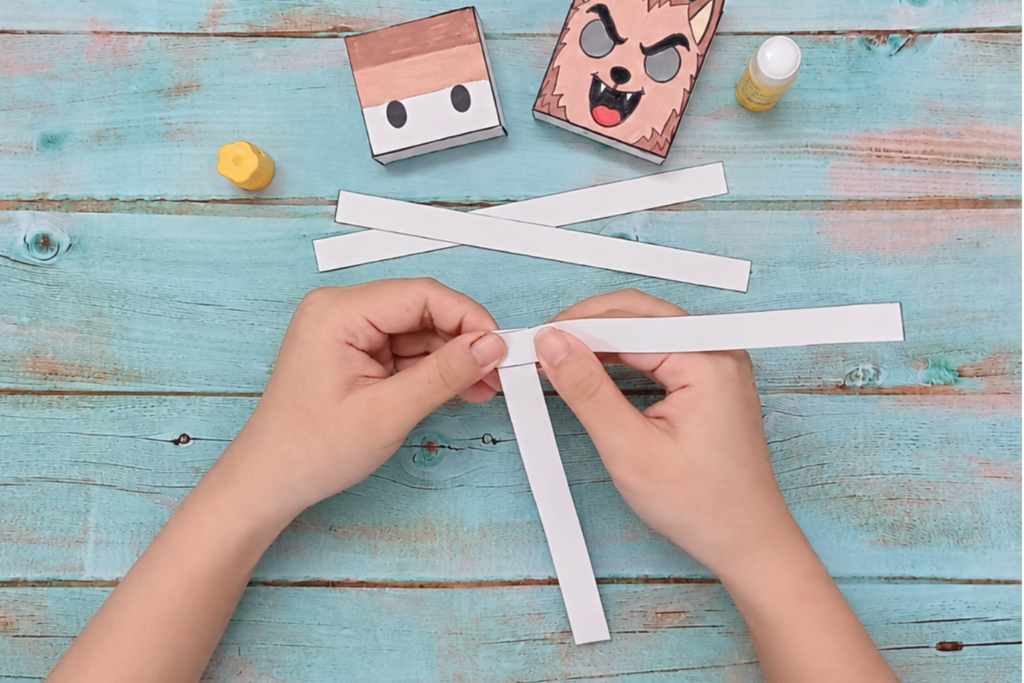
Step 7: Glue the two strips together at a 90° angle, then fold them over each other alternately all the way to the end to make a spring.
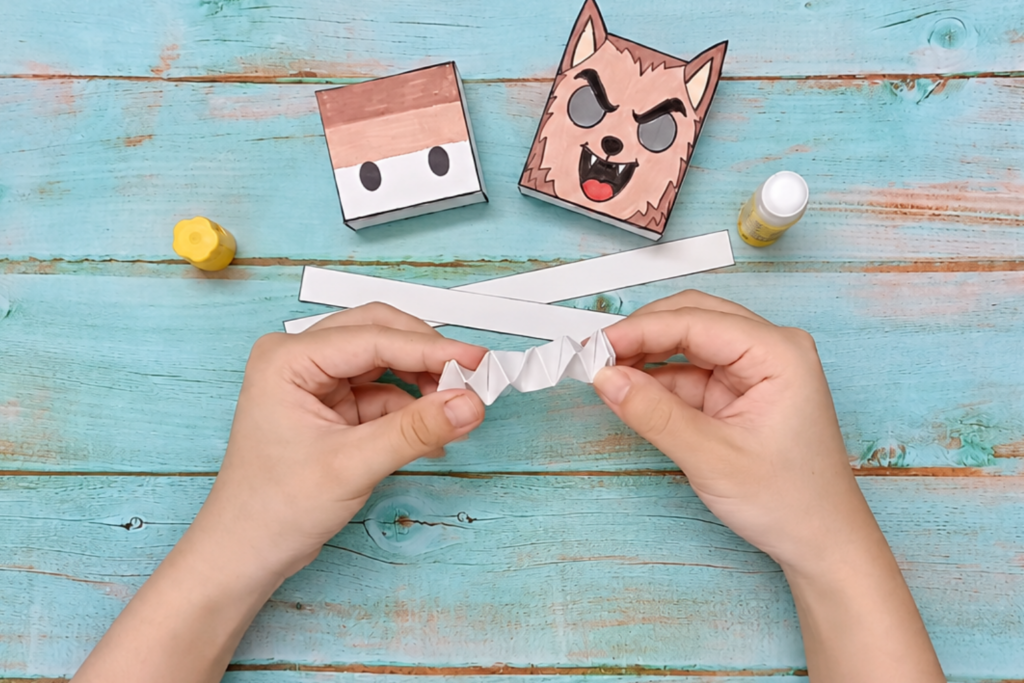
Step 8: Glue the two paper springs to the bottom of the inner box.
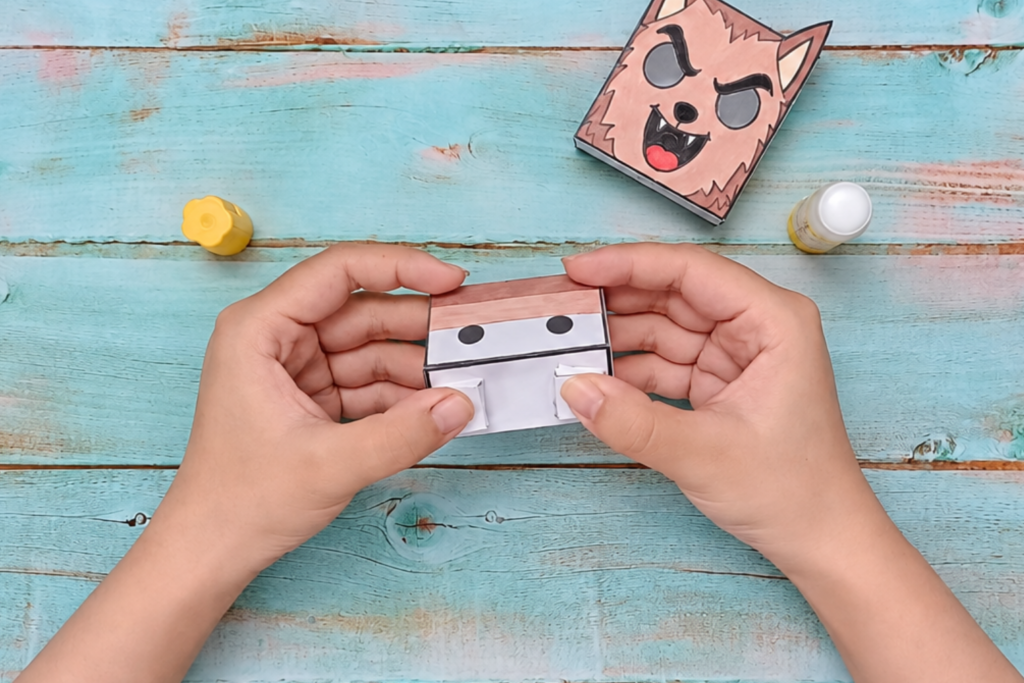
Step 9: Press the protruding part of the inner box, then release it to create the blinking effect.
More printables kids will love
-
3D Fairy Dolls
$4.50 -
3D Frankenstein
$4.99 -
3D Ocean Animals
$4.50 -
3D Ocean Fishes
$3.99 -
3D Paper Dracula
$4.99 -
3D Paper Hippo
$4.99 -
3D Paper Lion
$4.99 -
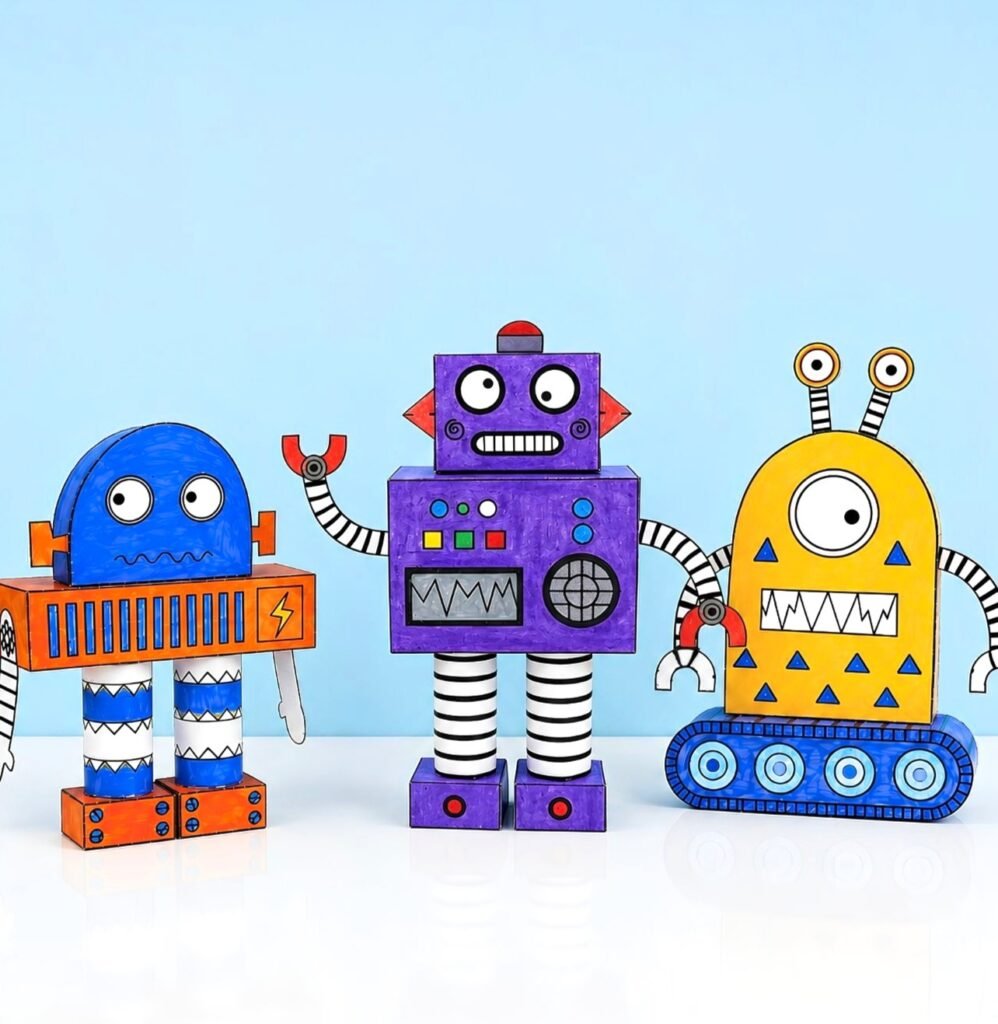
3D Paper Robot
$4.99 -
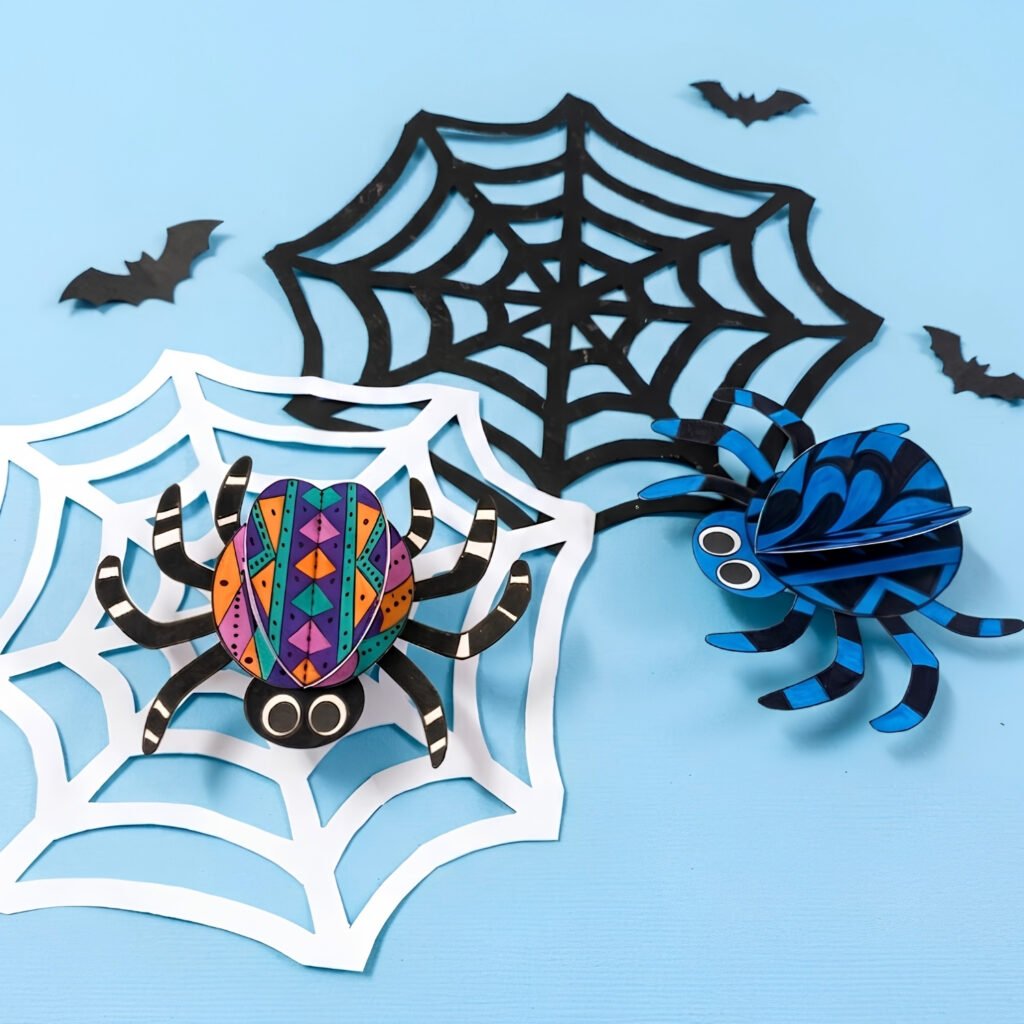
3D Pattern Spider
$3.99 -
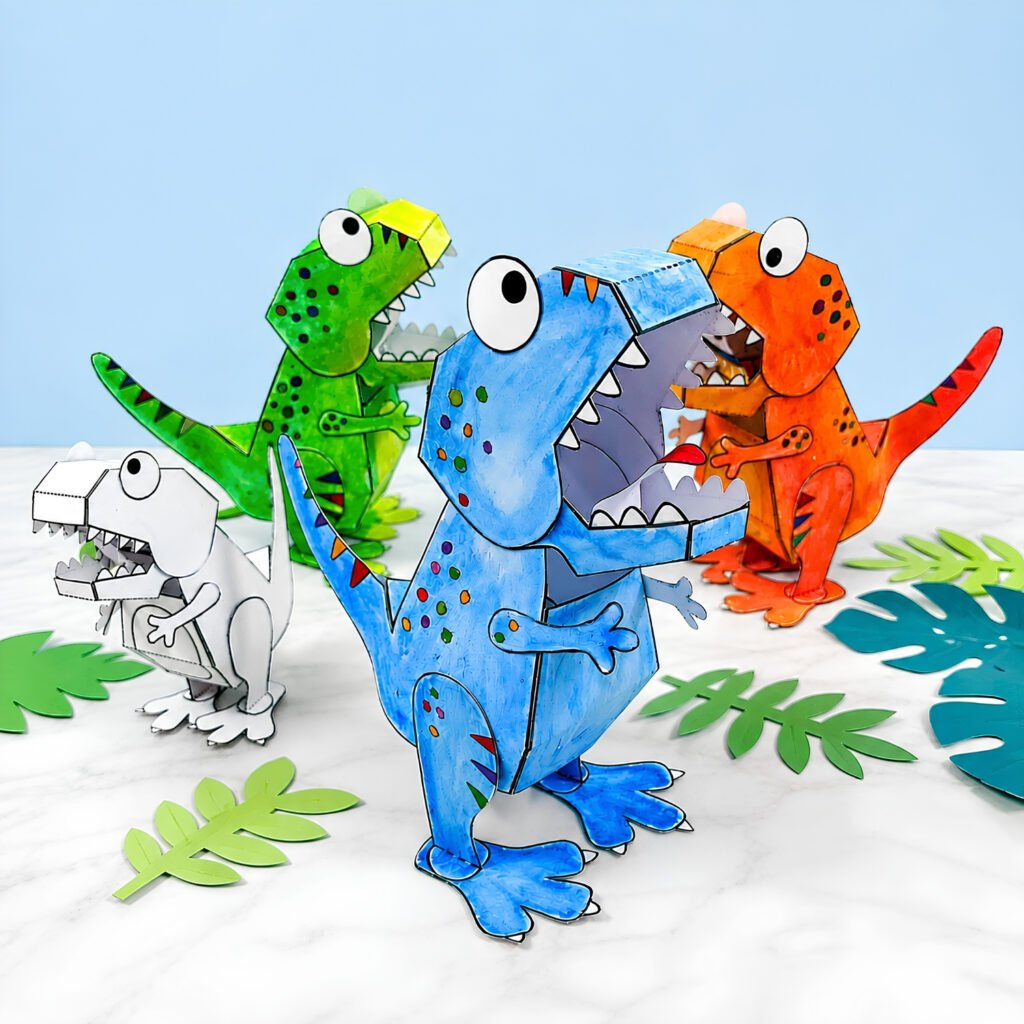
3D T-Rex
$4.99 -
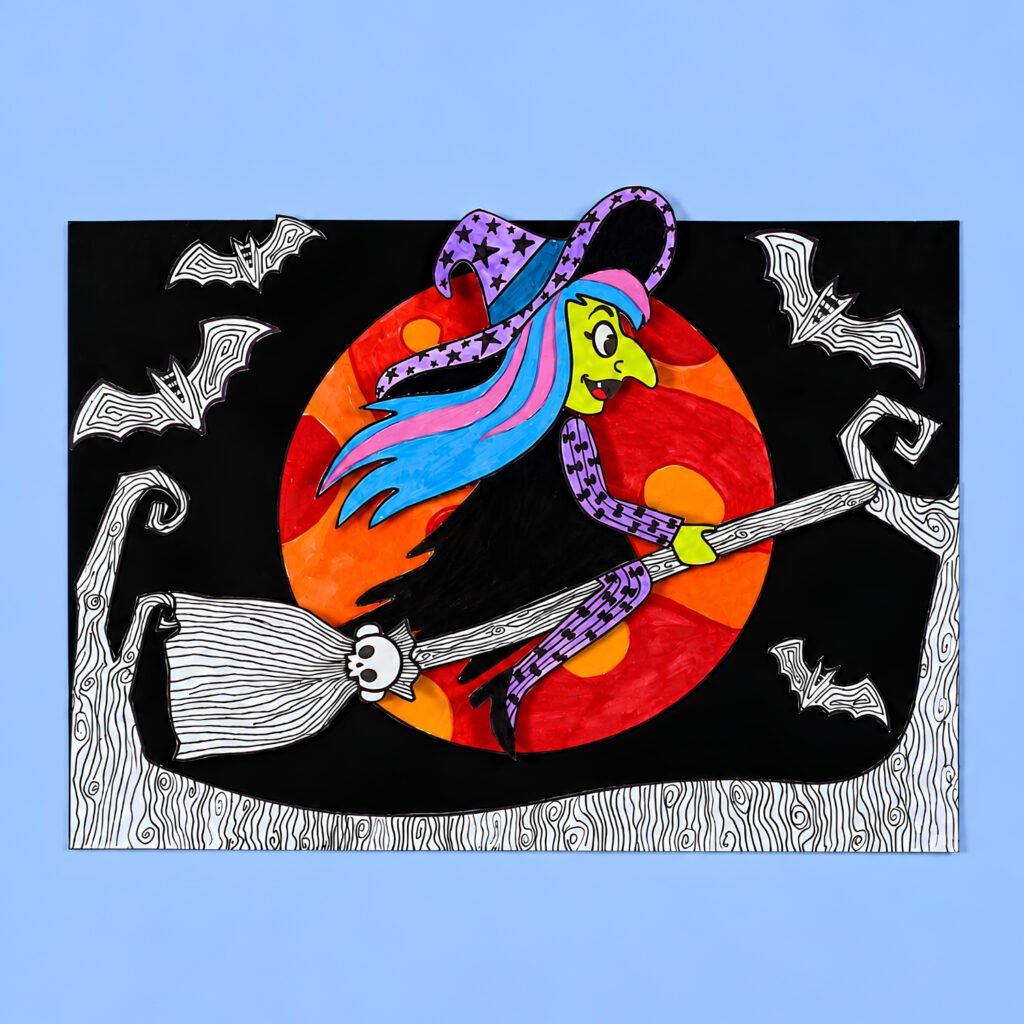
3D Witch Paper Craft
$4.99 -
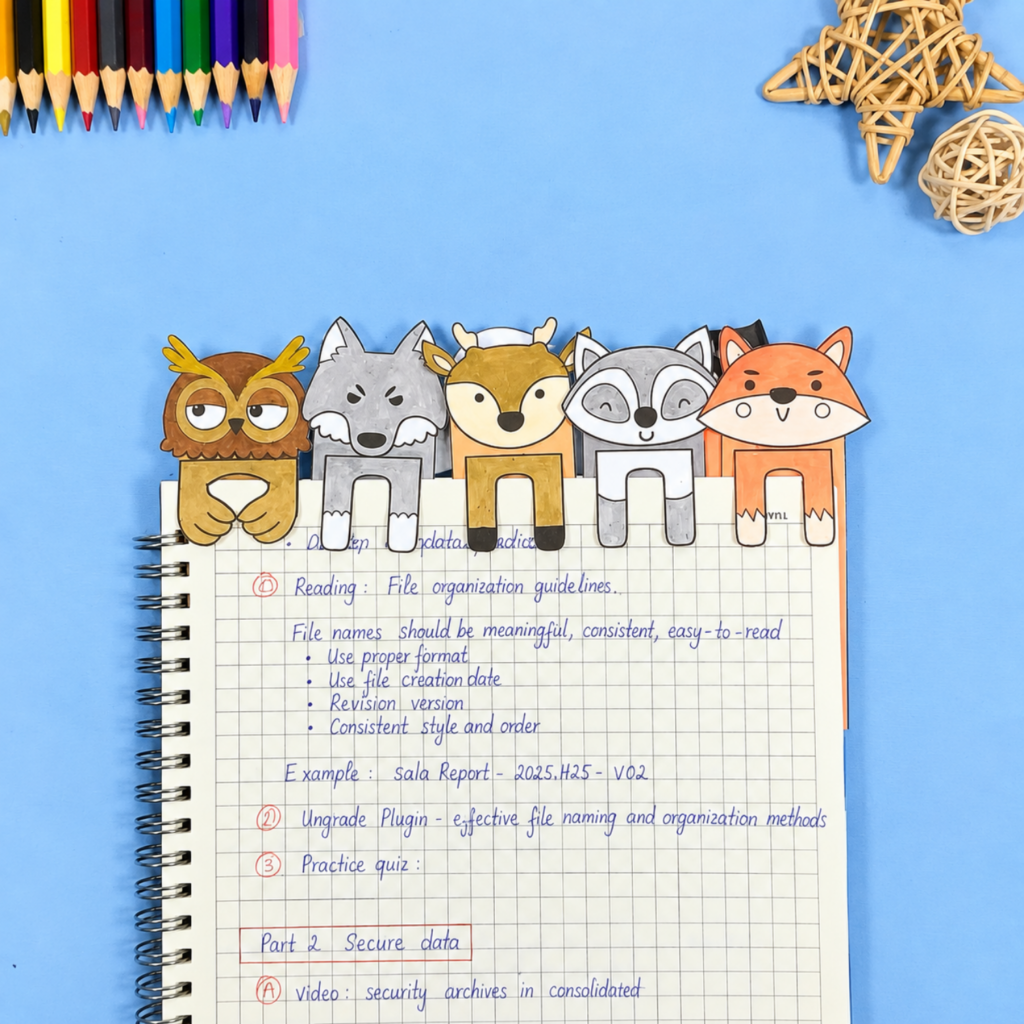
Animal Bookmarks
$3.99 -
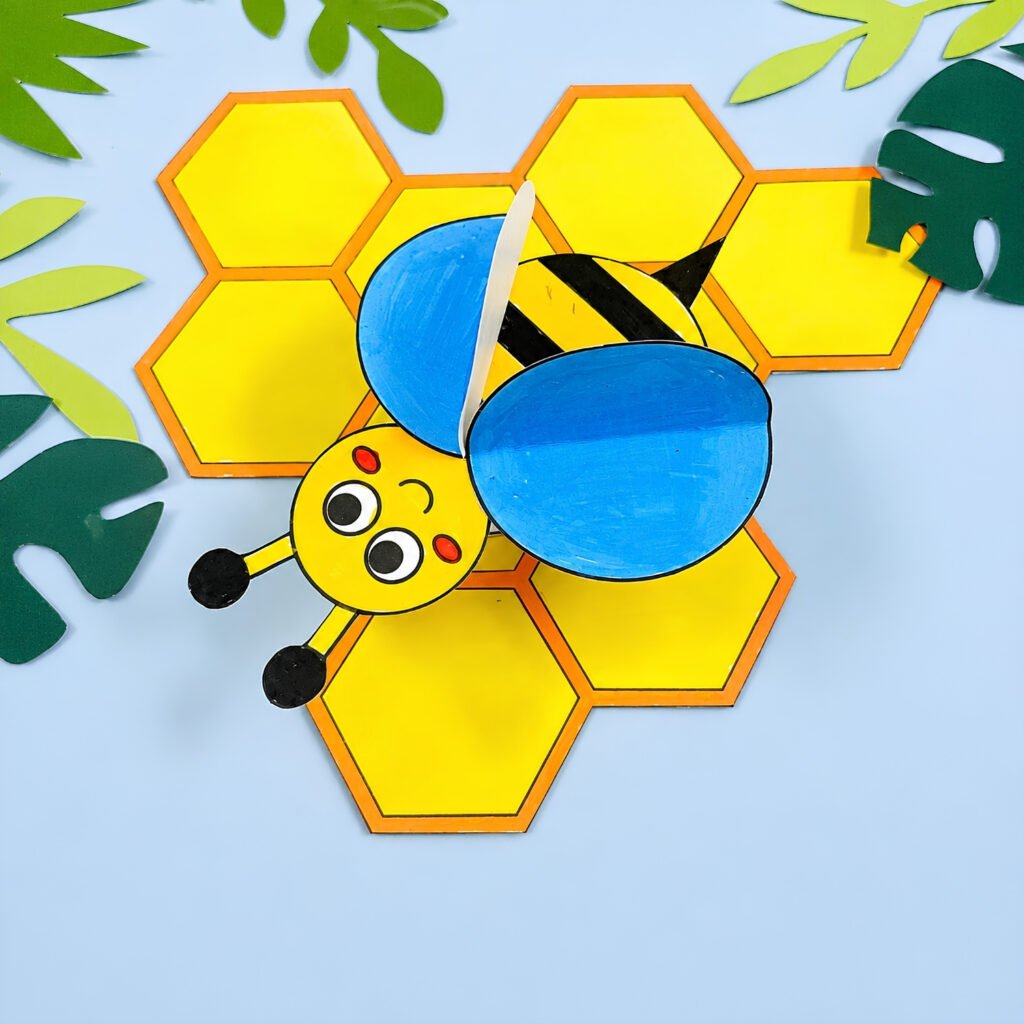
Bee & Honeycomb 3D Craft
$3.99 -
Blinking Halloween Crafts
$4.99 -
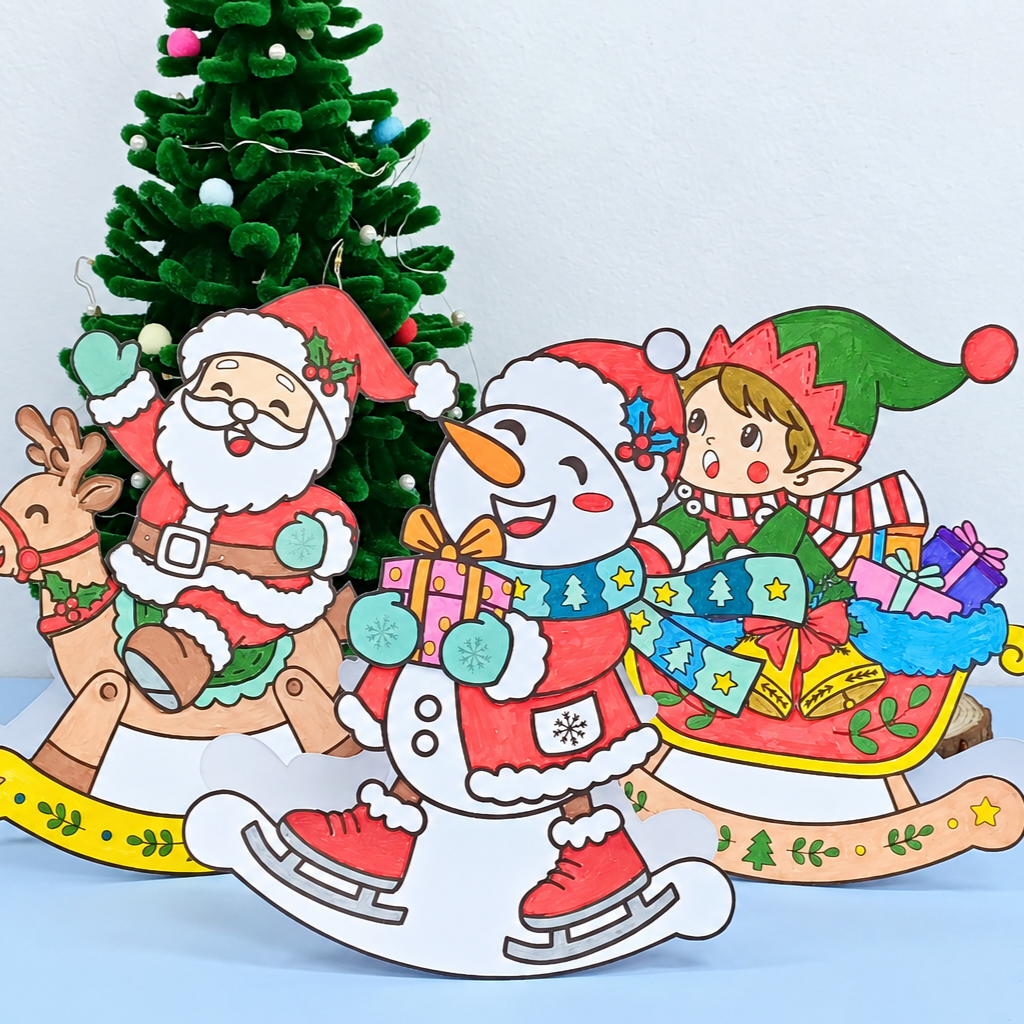
Christmas Rockers
$3.99 -
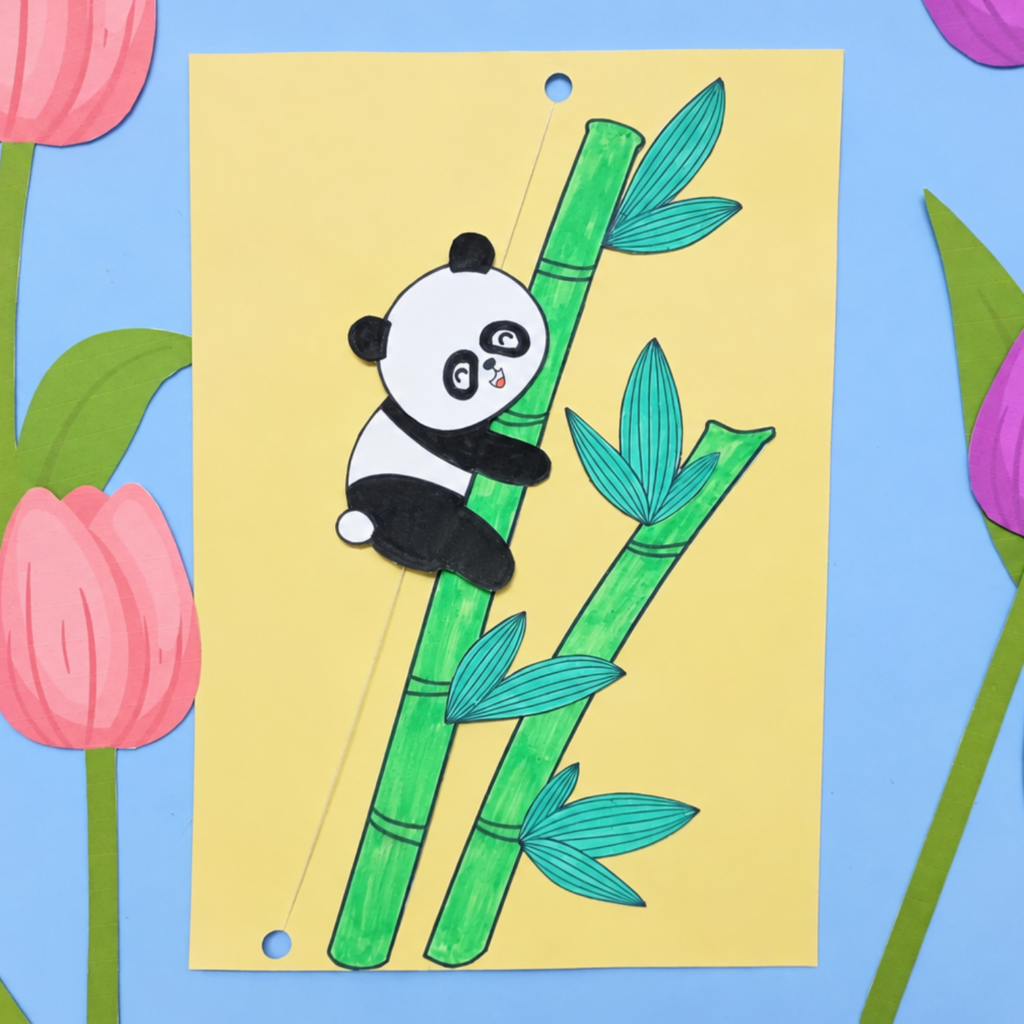
Climbing Panda
$3.50 -
Flapping Angel
$3.50 -
Fluffy Paper Owl
$4.99 -
Four Seasons Craft Set
$4.50 -
Halloween Candy Holders
$4.50 -
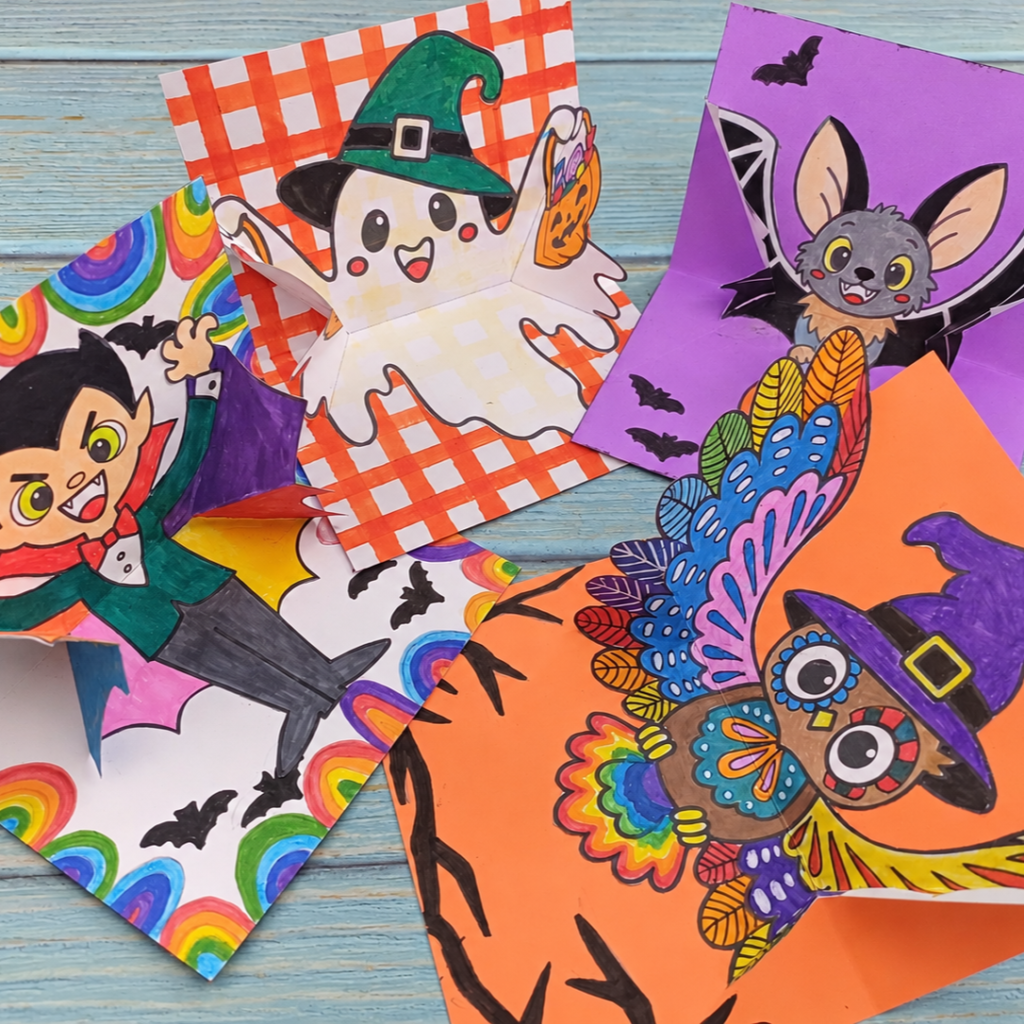
Halloween Fold-Out Set
$4.50