Welcome to Kiddy Play Studio.
These Terms & Conditions apply to your use of the Kiddy Play Studio website and to purchases made through our online store.
By accessing our website or purchasing our products, you agree to these Terms & Conditions.
If you do not agree with these terms, please do not use our website or purchase our products.
1. About Kiddy Play Studio
Kiddy Play Studio creates and sells digital printable craft templates, paper craft projects, printable activities, and other creative resources.
Our products are designed for creative, personal, family, educational, classroom, and similar activities.
All products are digital unless a product description specifically states otherwise.
2. Digital Products
Kiddy Play Studio sells digital products rather than physical goods.
When you purchase a product, you receive access to the digital files described in the relevant product listing.
No physical item will be shipped unless a product is specifically identified as a physical product.
Please carefully review the product description and preview images before purchasing.
3. Digital Downloads
After a successful purchase, your digital files will be made available through the delivery method provided on our website.
You are responsible for downloading and saving your purchased files.
We recommend keeping a backup copy of your purchased files for your own records.
If you experience a genuine problem accessing or downloading a purchased file, please contact us and we will do our best to help.
4. Product Information
We make reasonable efforts to ensure that our product descriptions, images, previews, and other information are accurate.
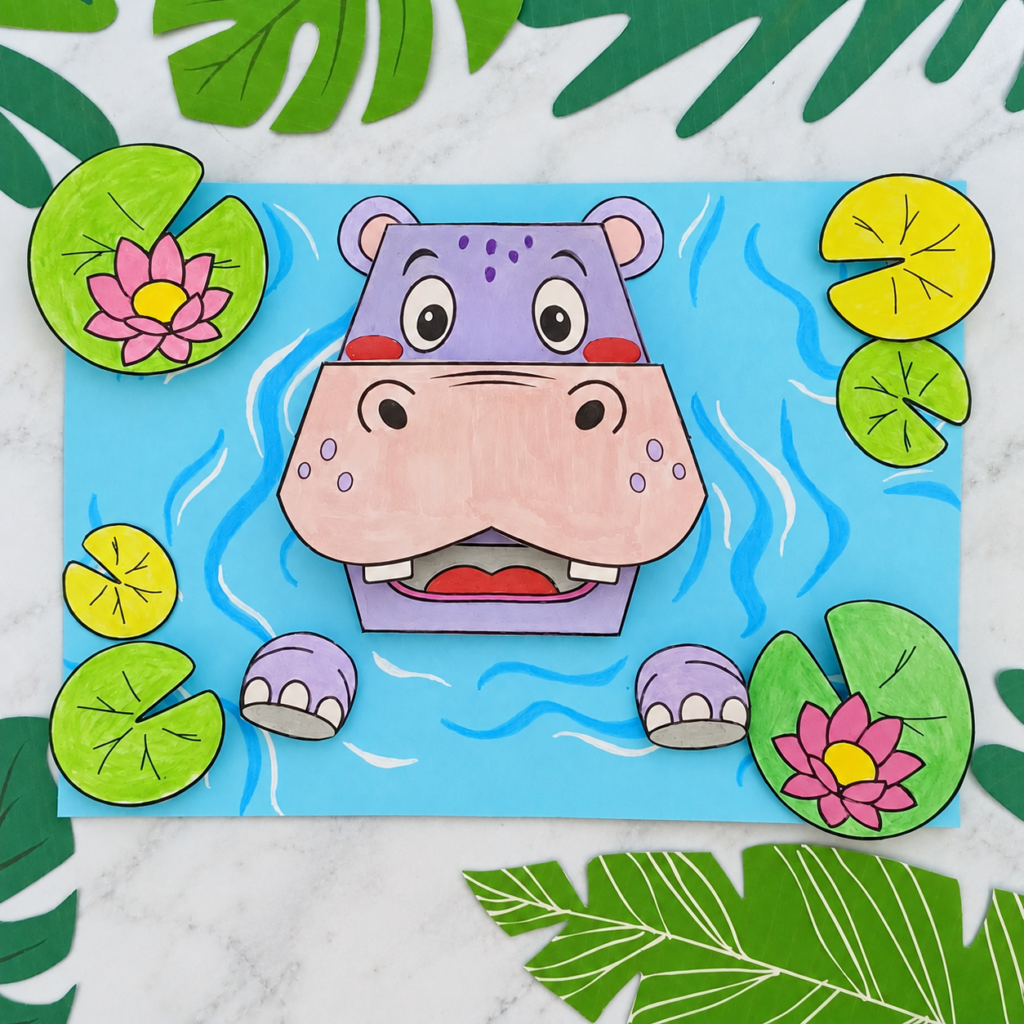
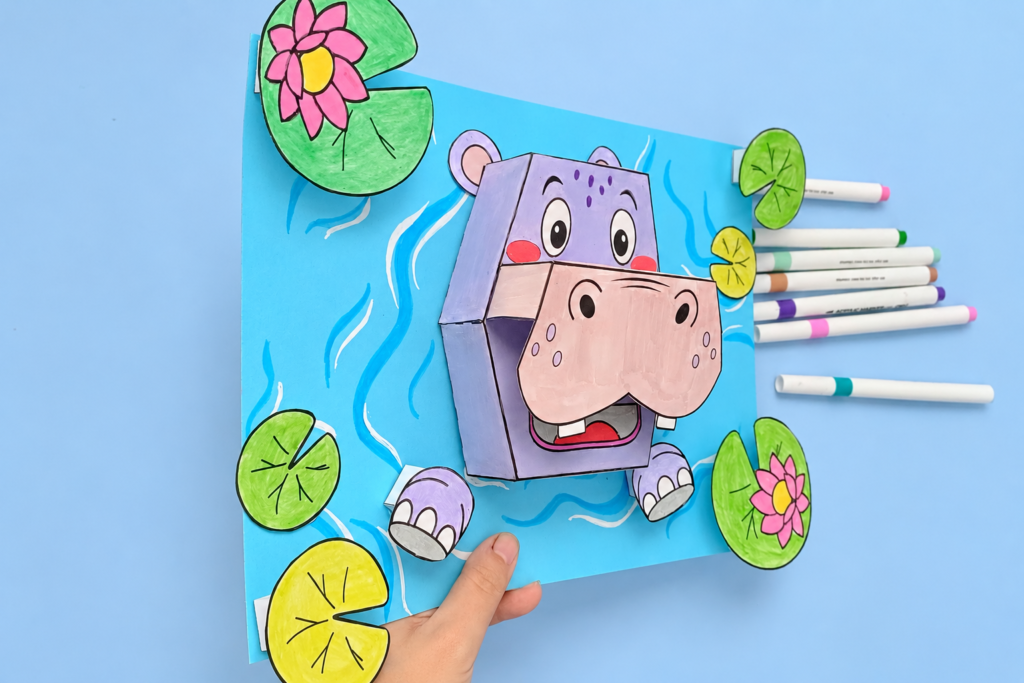
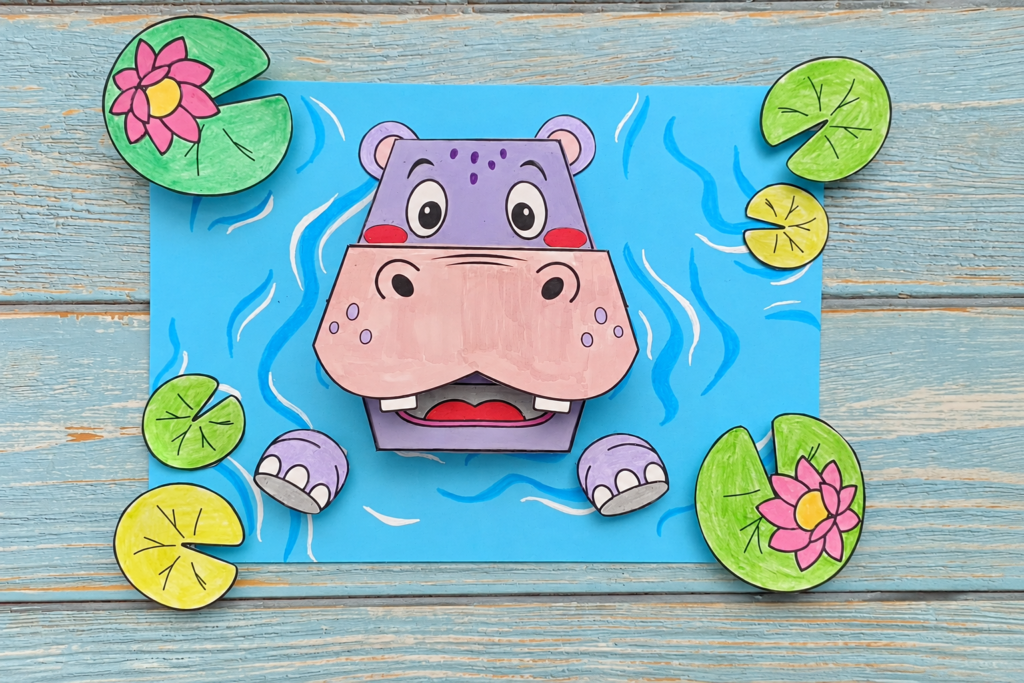
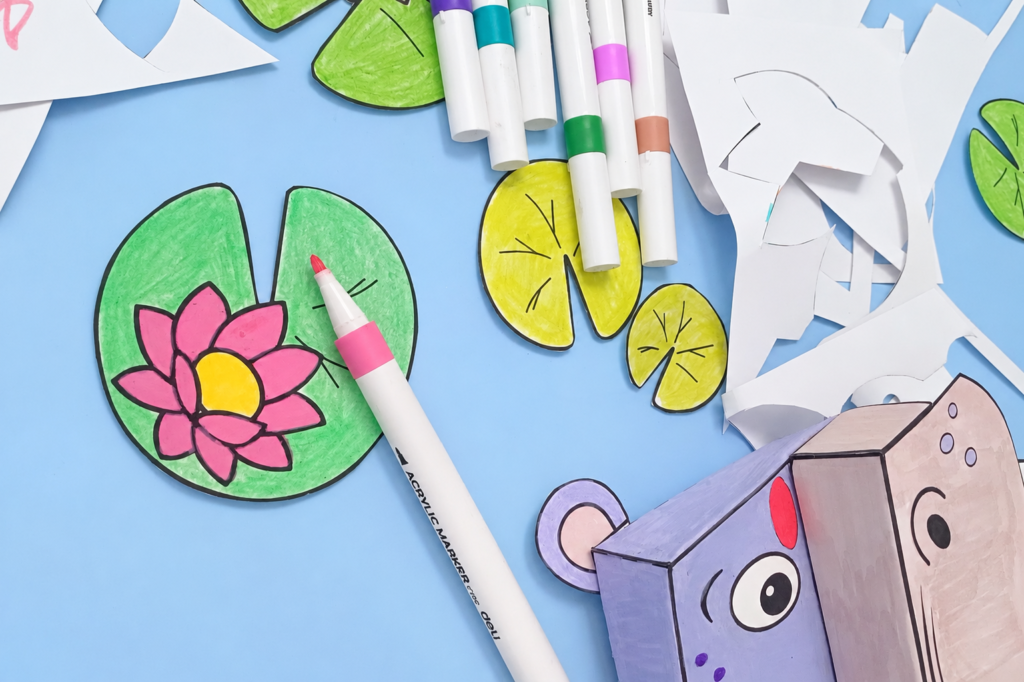
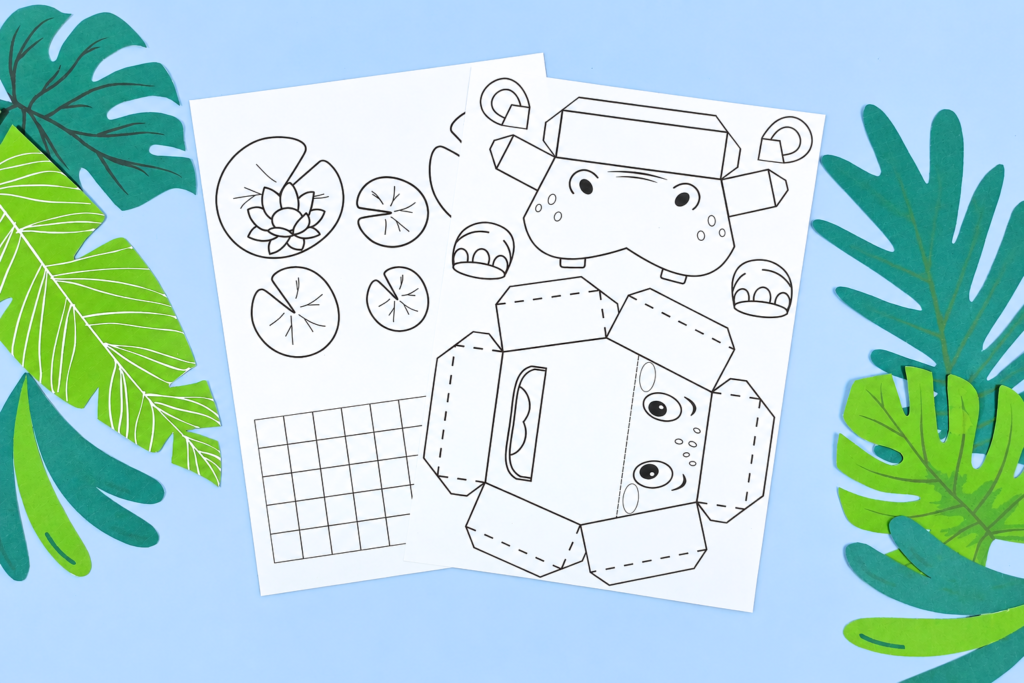
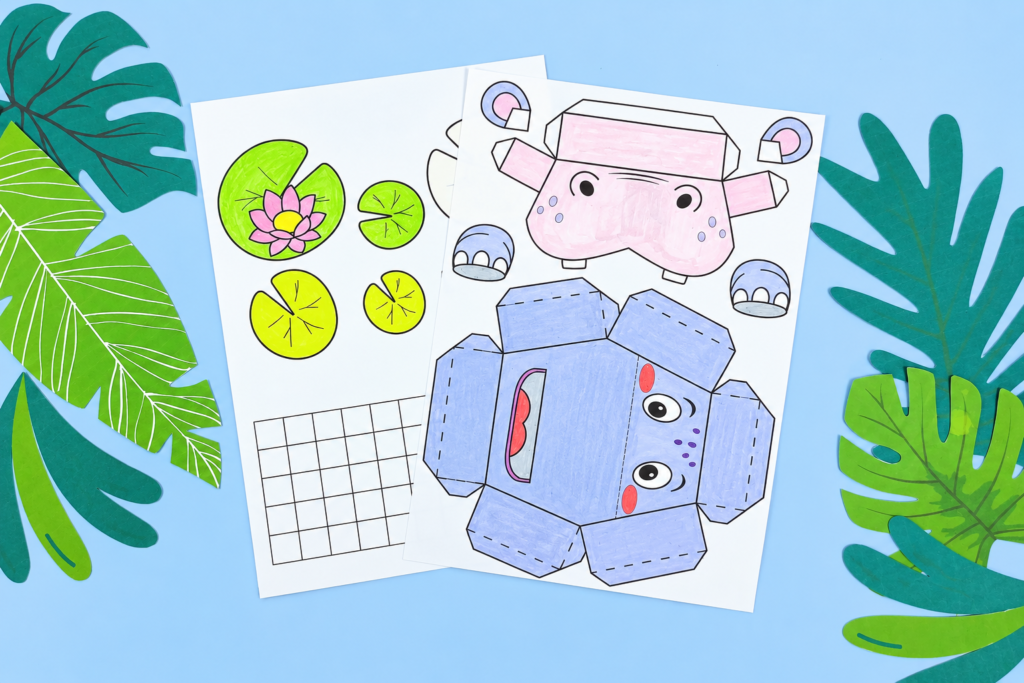
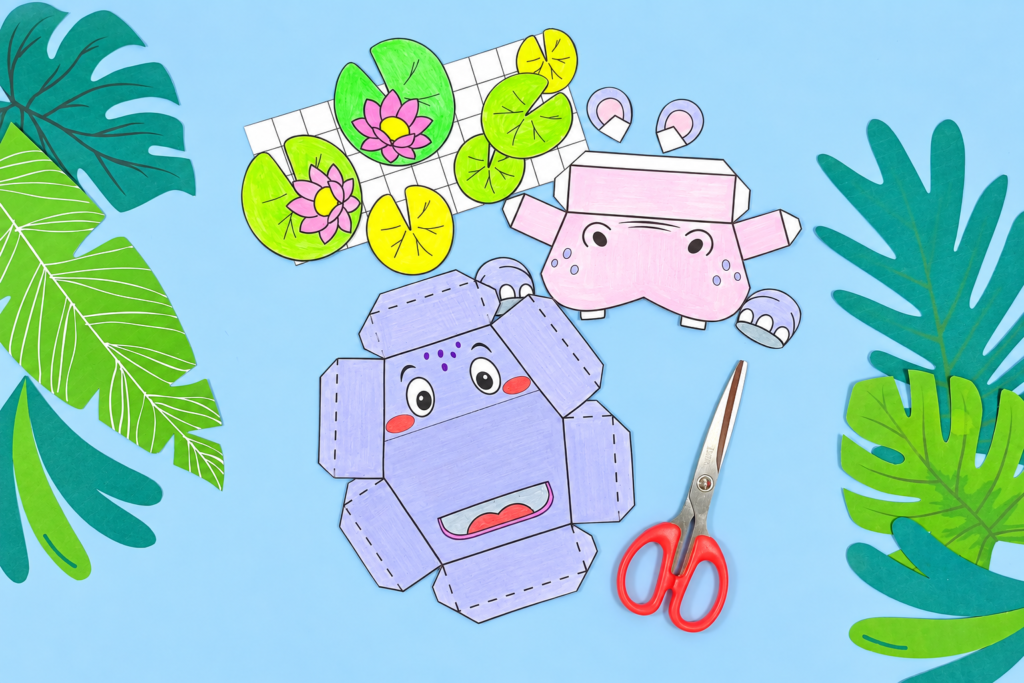
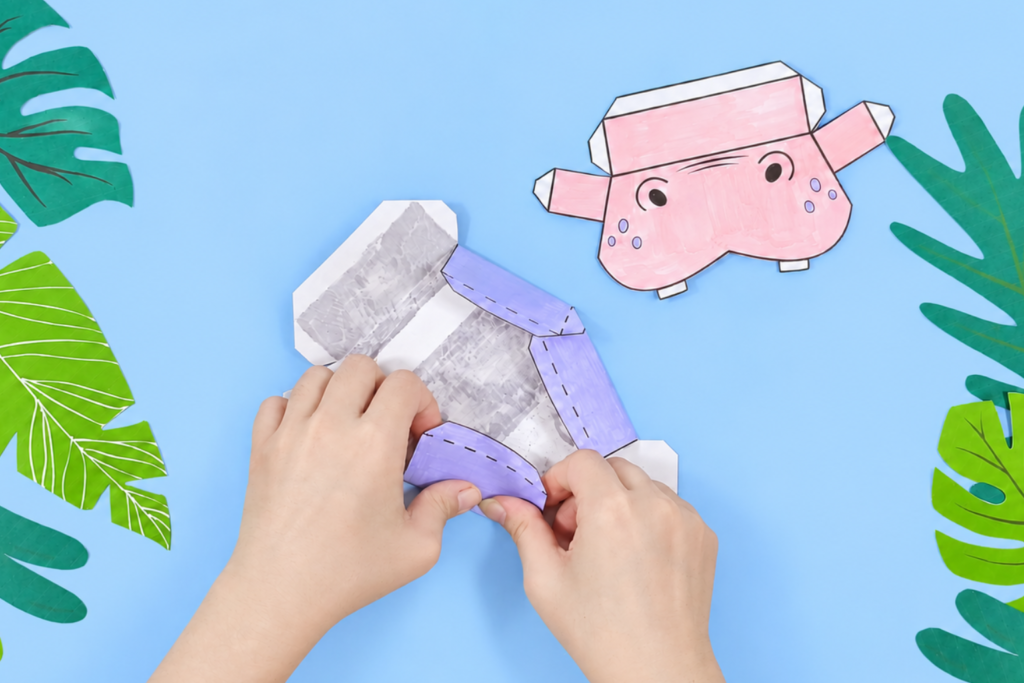
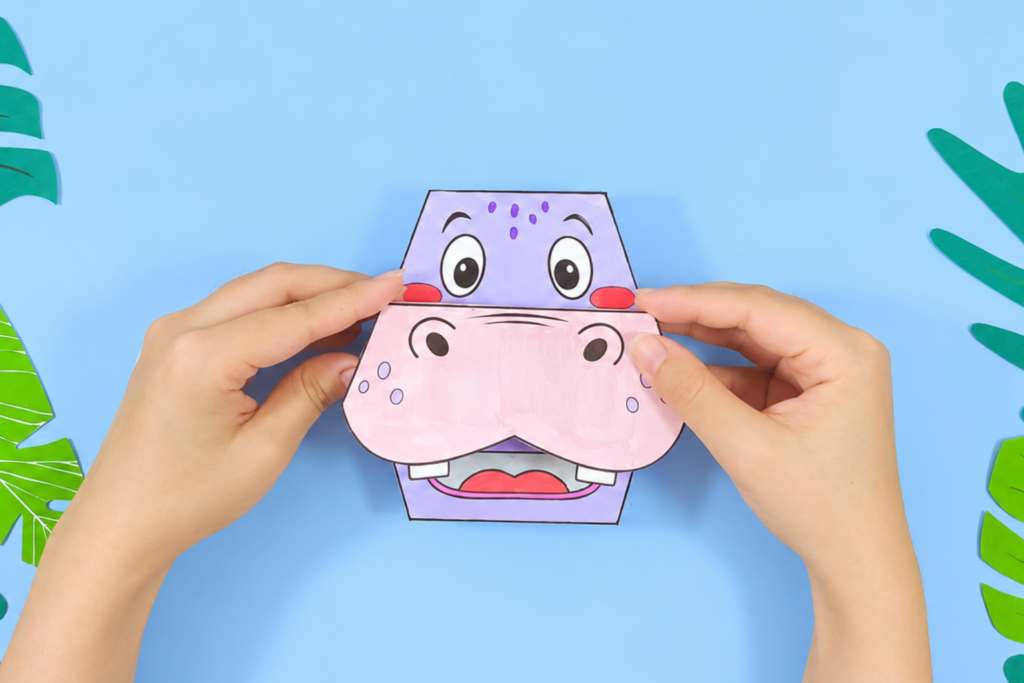
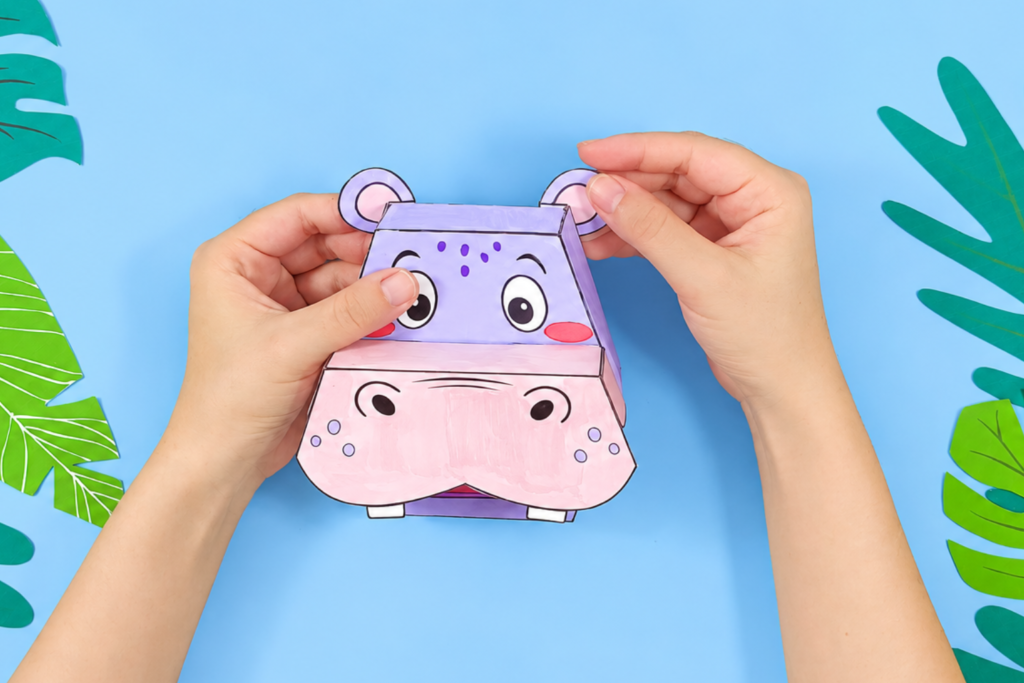
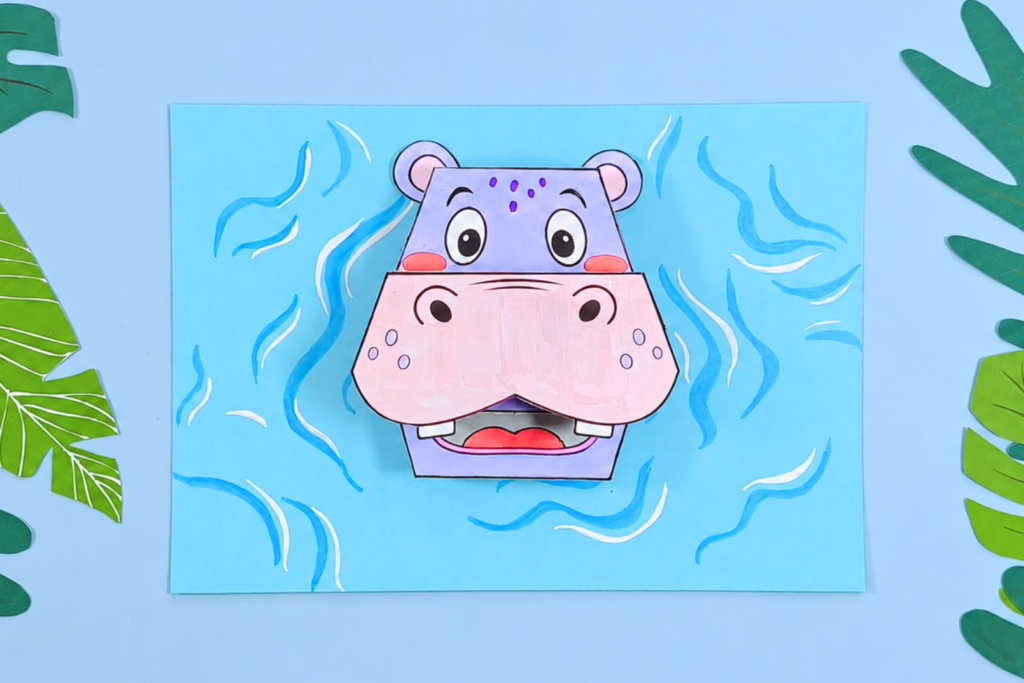
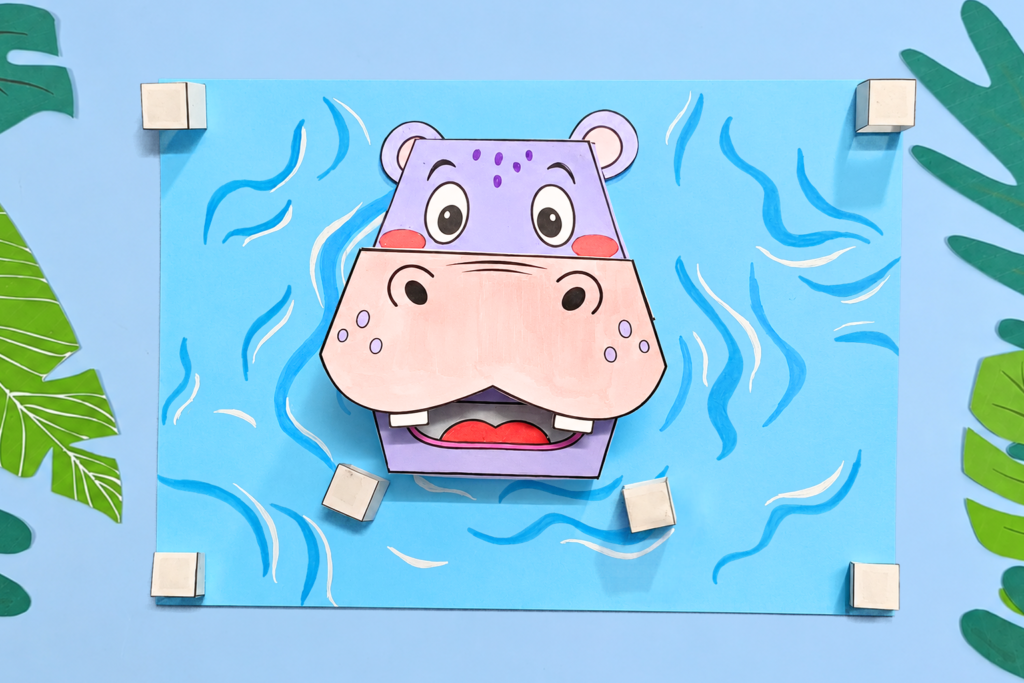
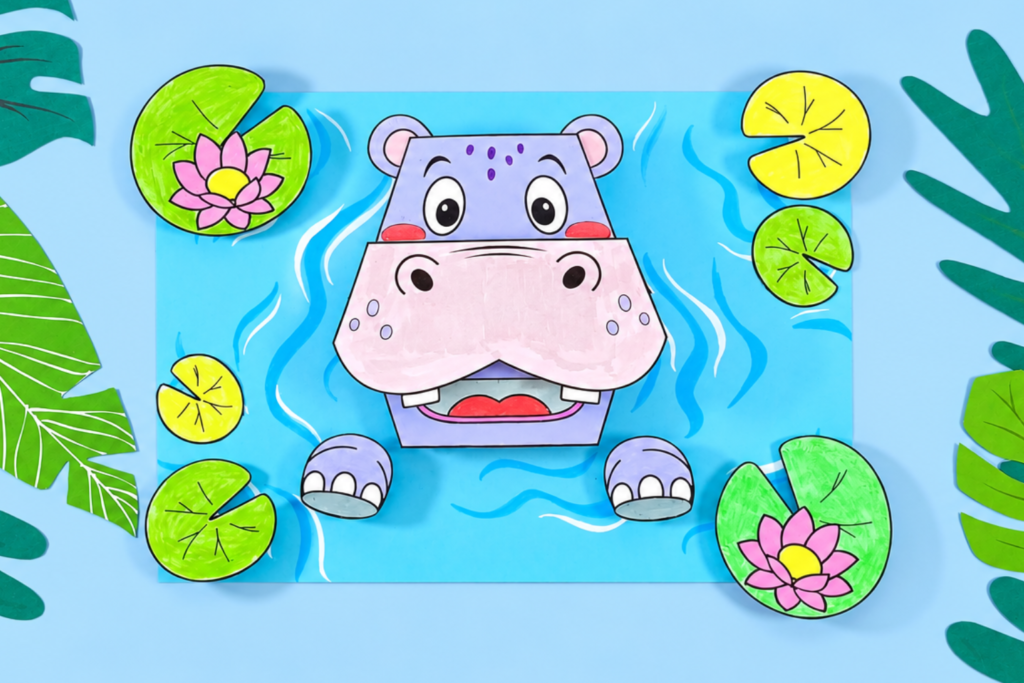
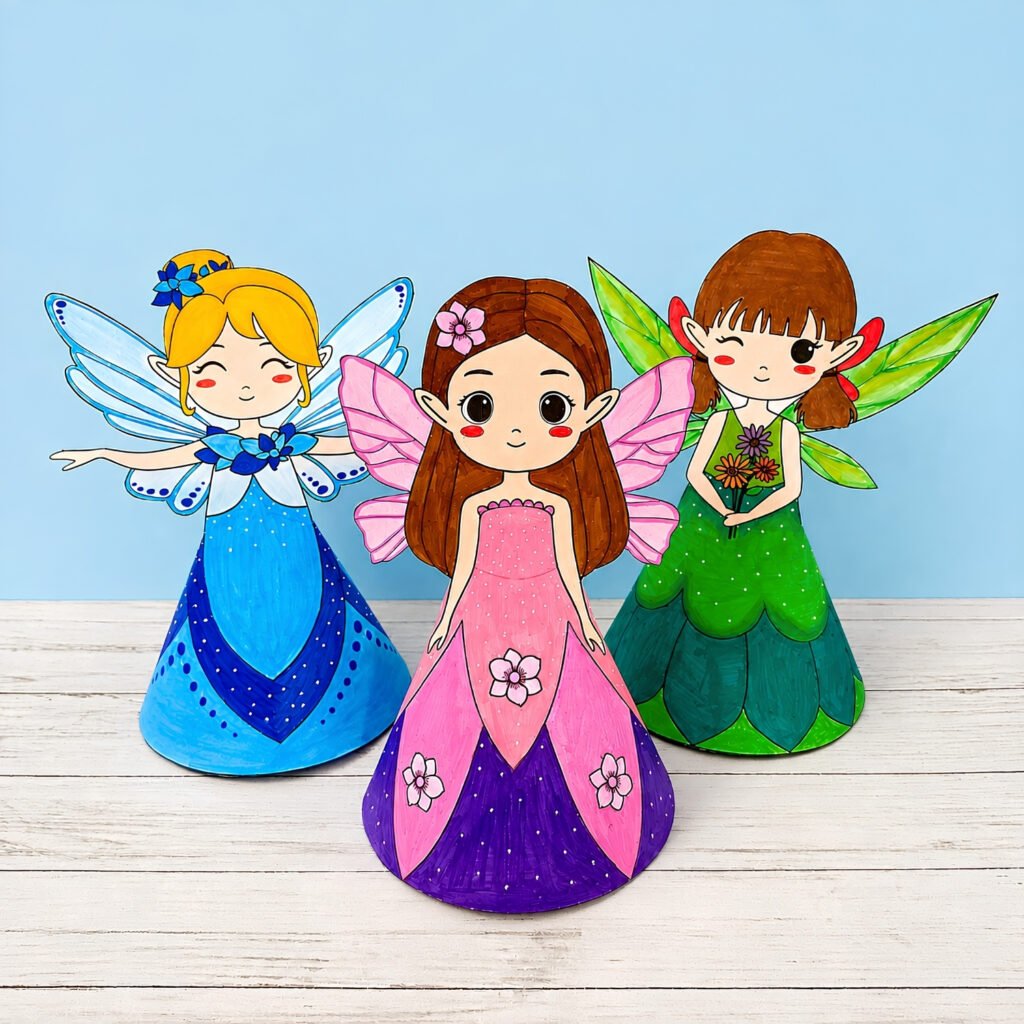
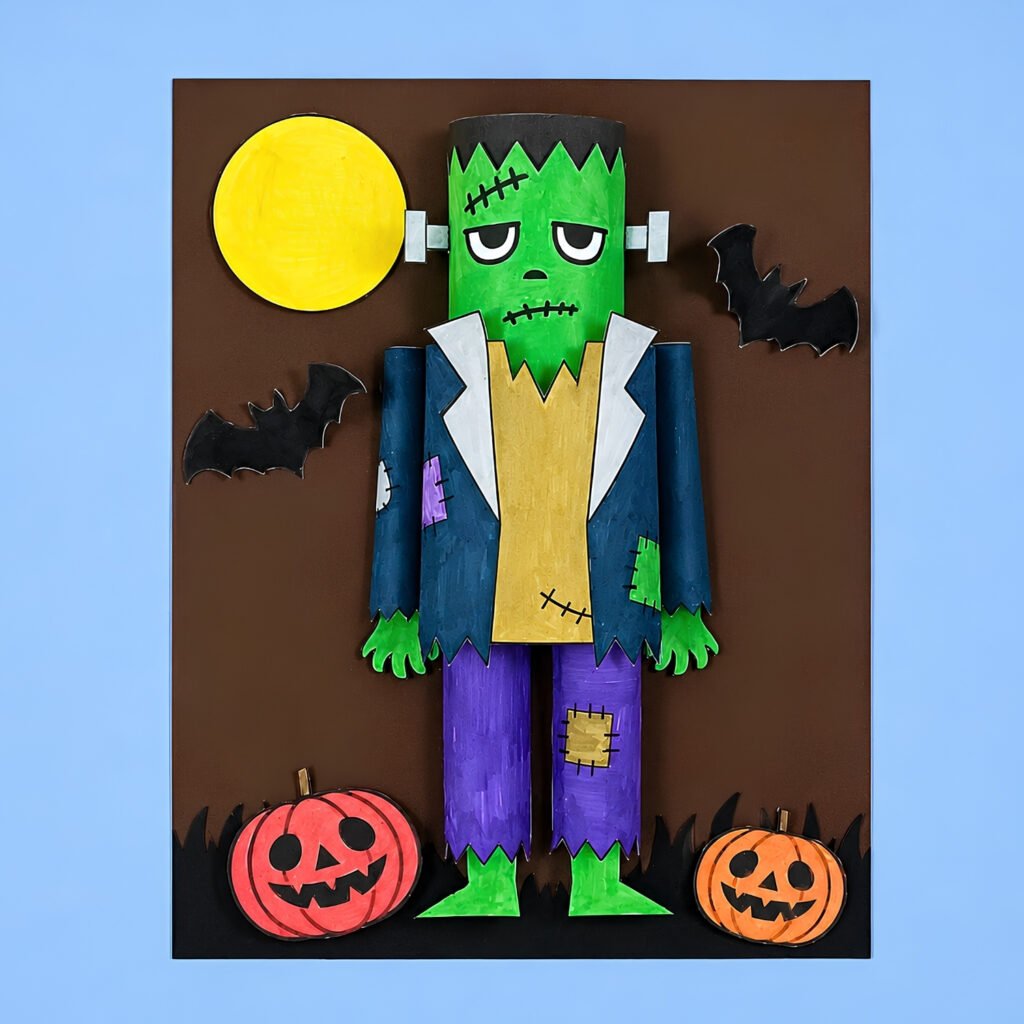
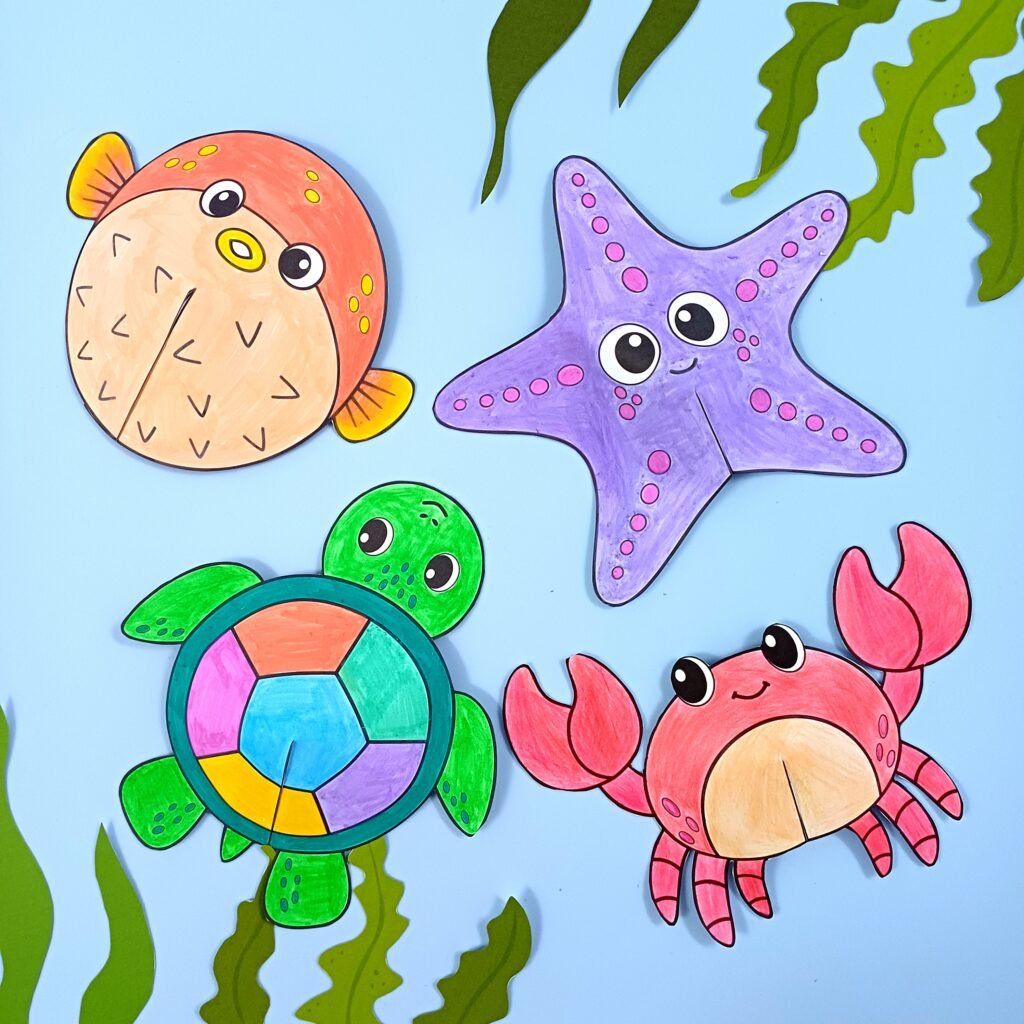
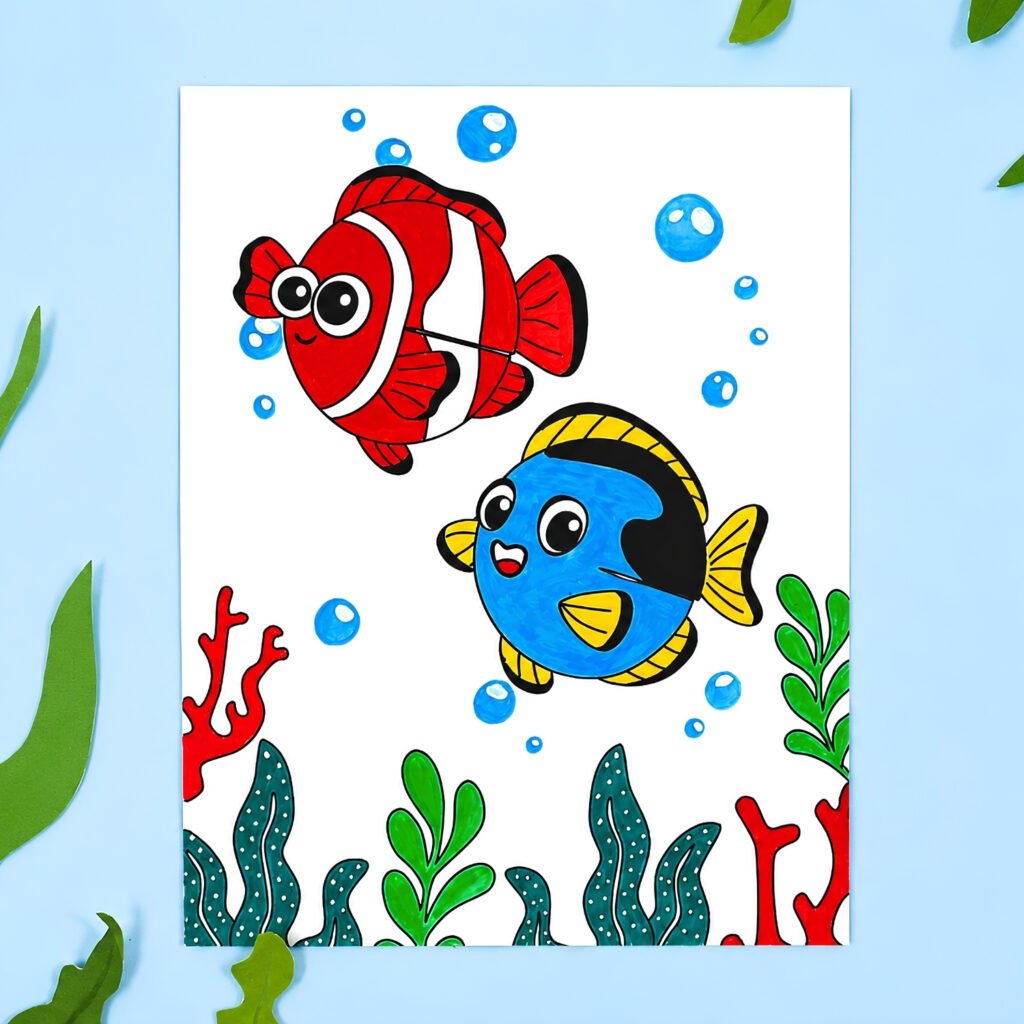
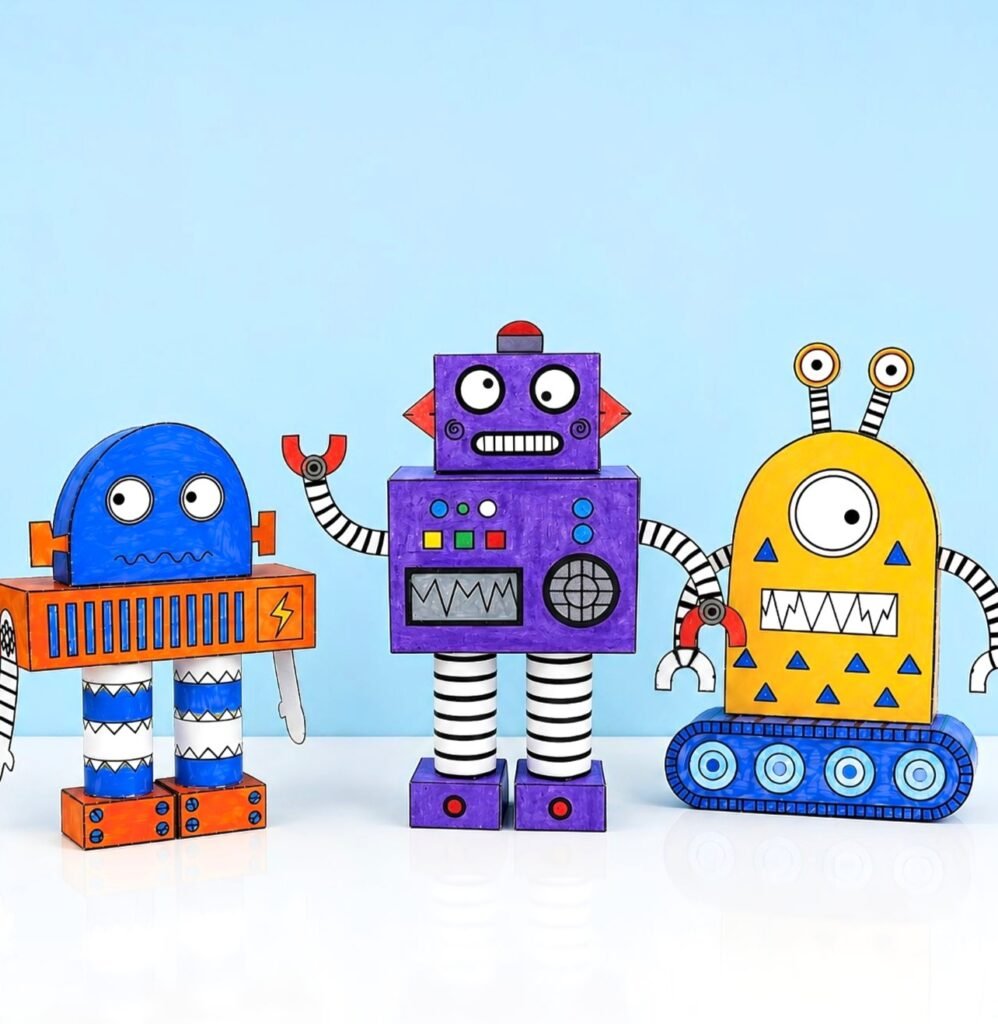
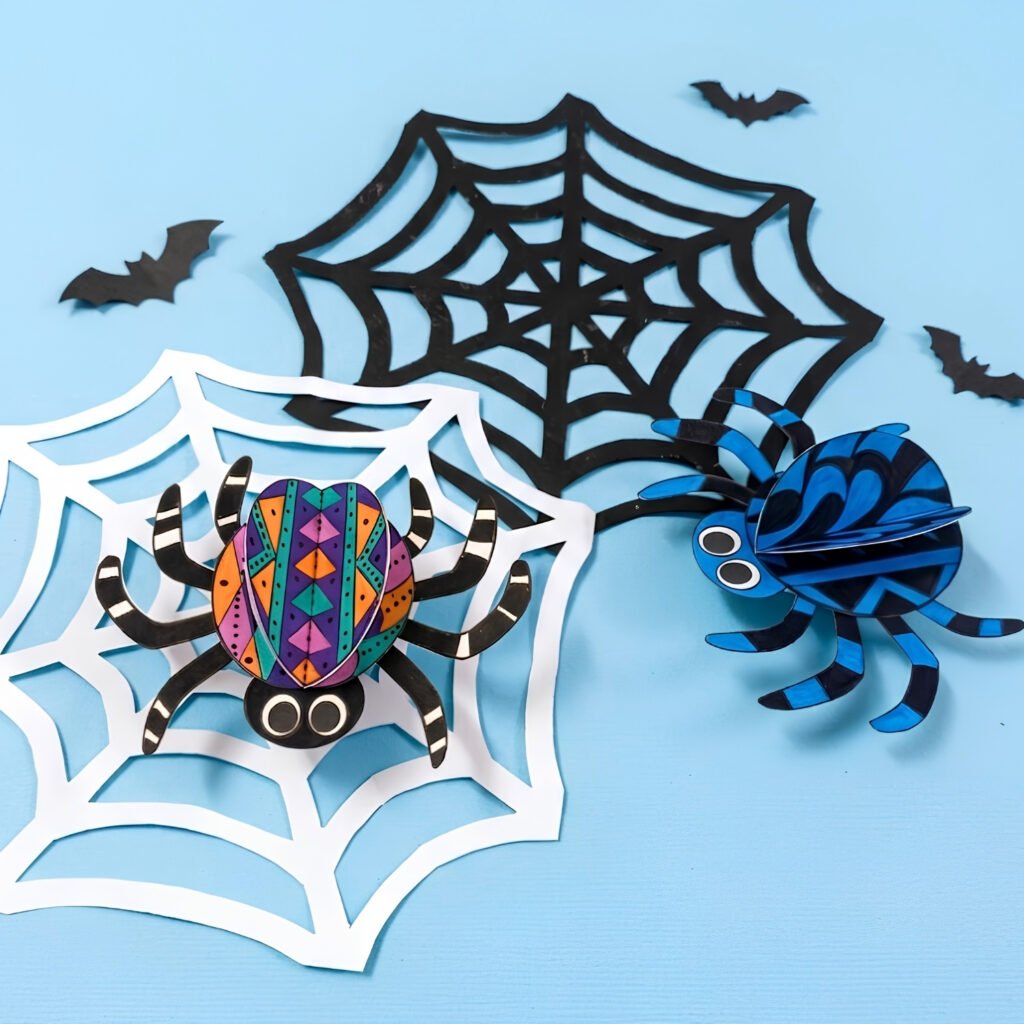
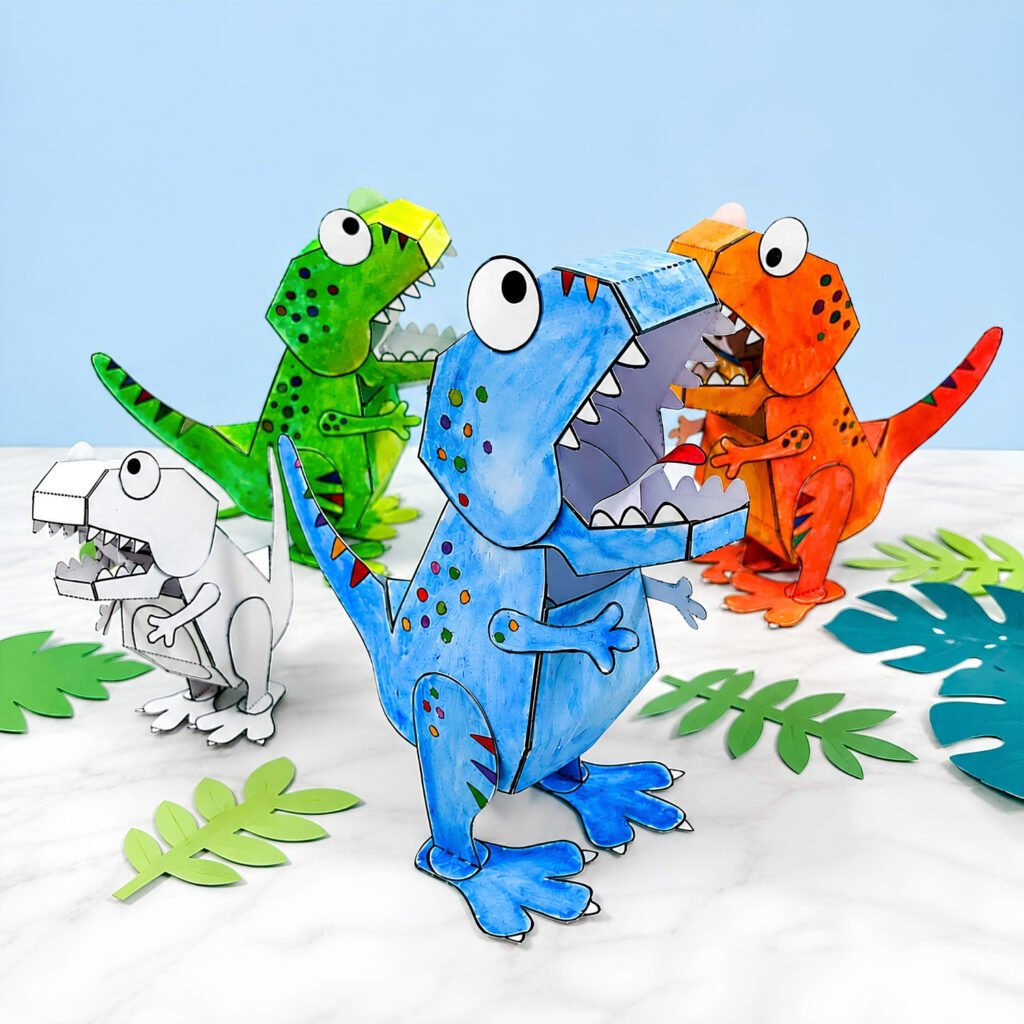
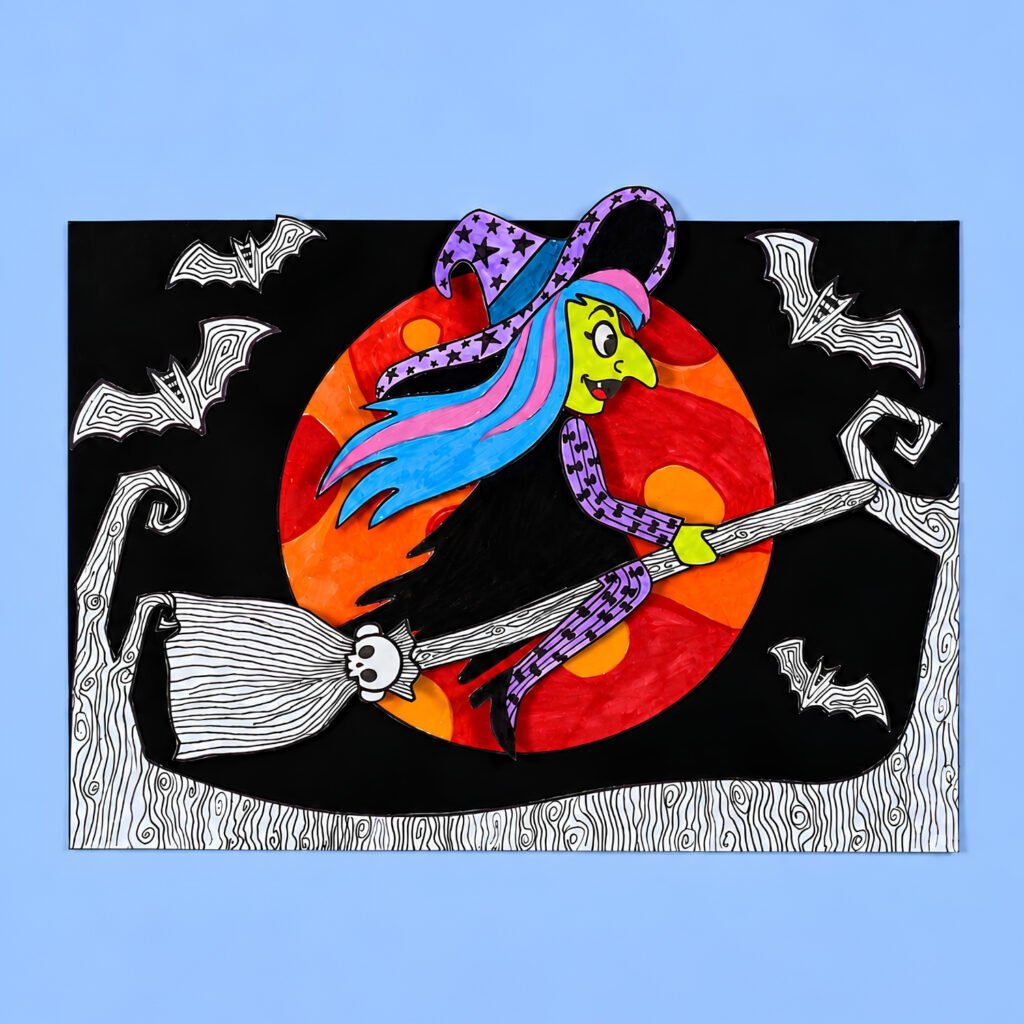
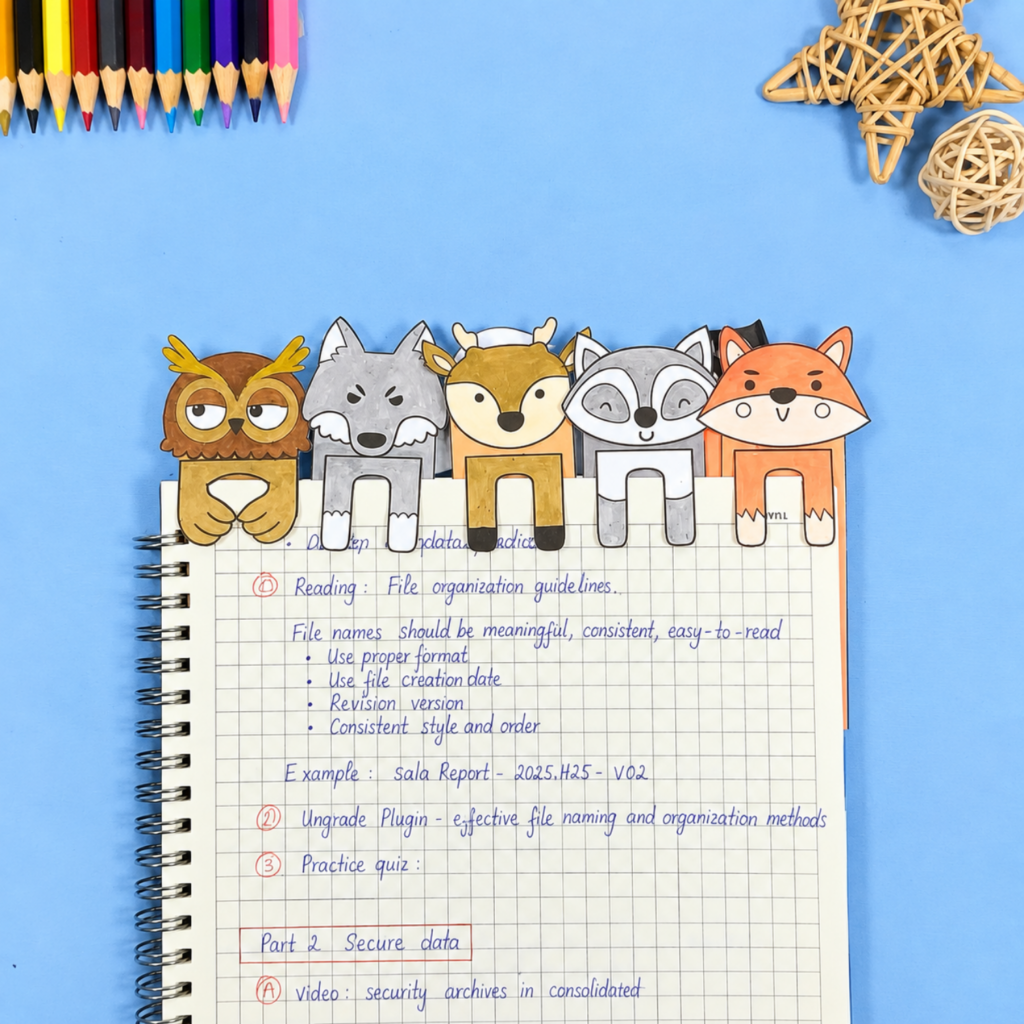
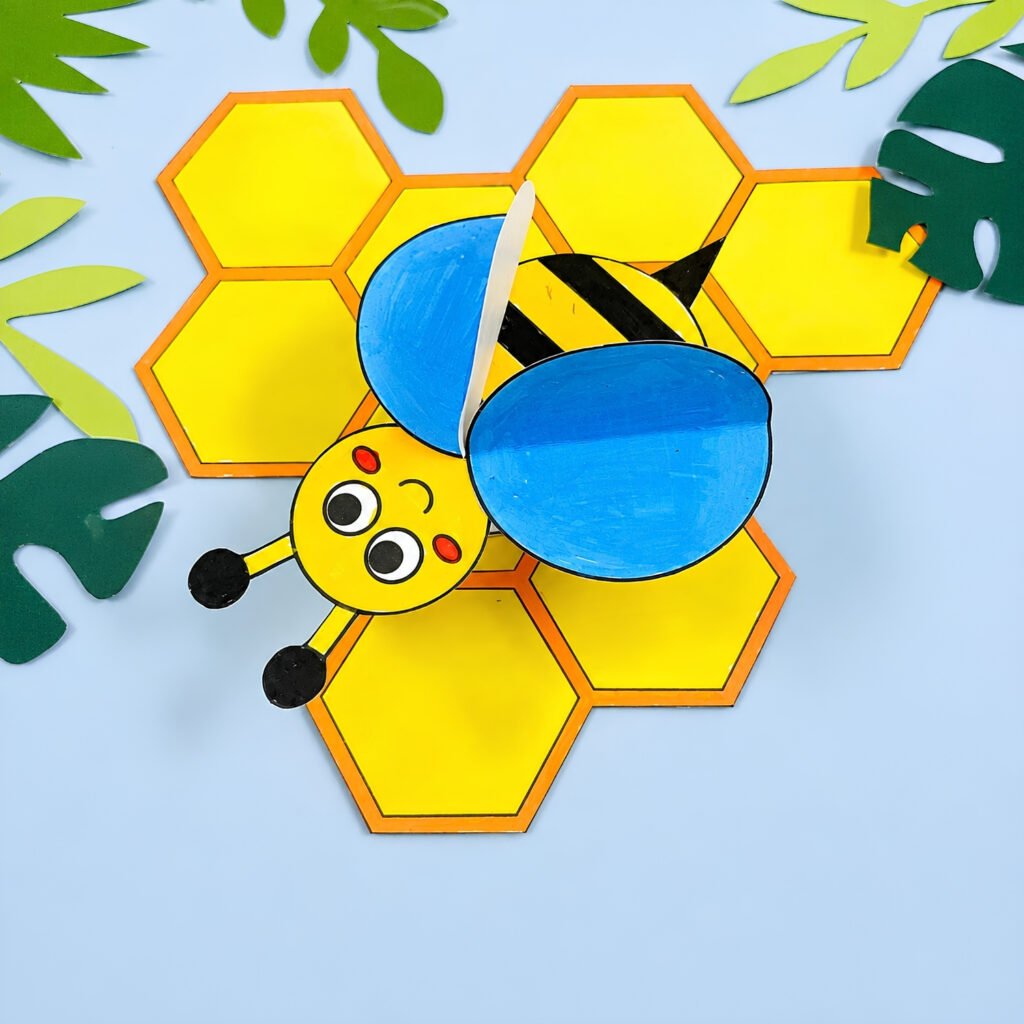
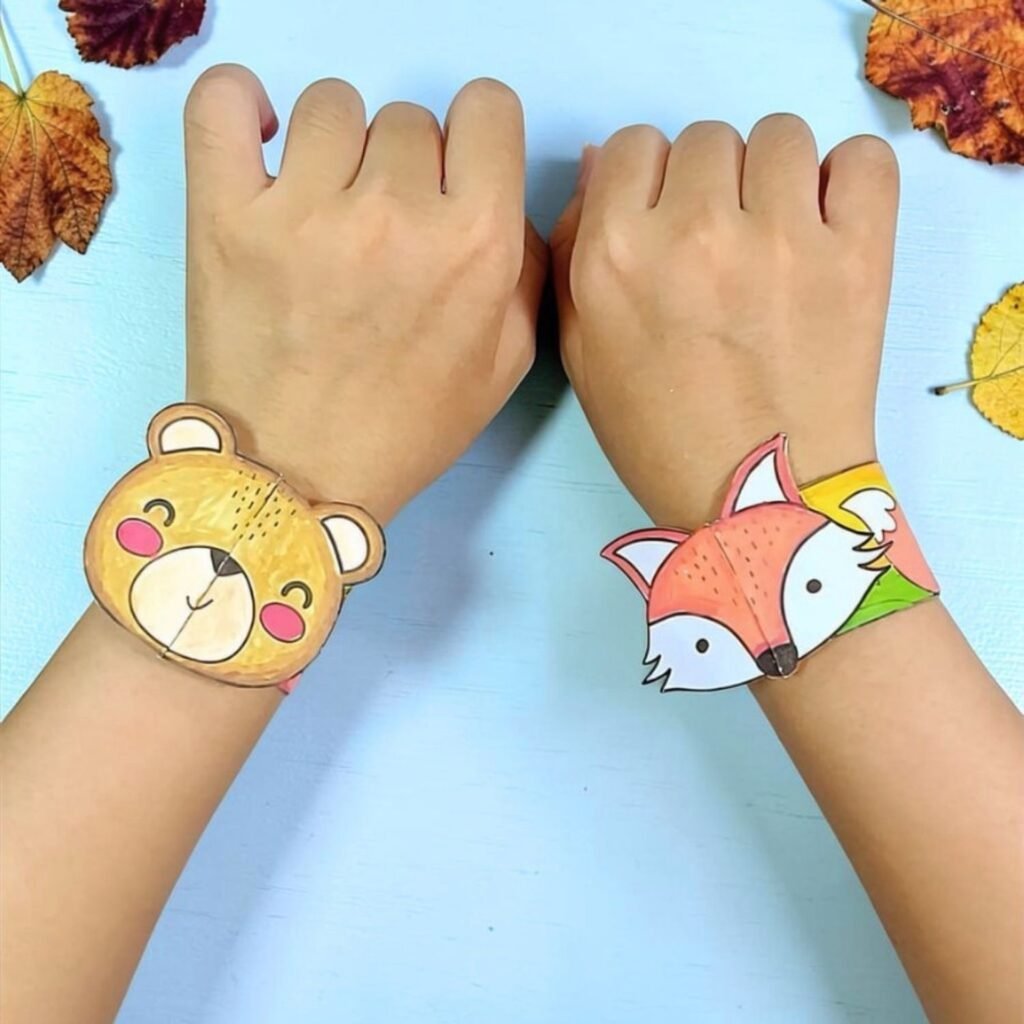
Product previews may show completed crafts or examples of how a template can be used.
Unless specifically stated in the product description, paper, scissors, glue, coloring materials, decorations, and other physical craft supplies are not included with a digital purchase.
5. File Formats and Compatibility
The file formats included with each product will be described in the product listing.
Before purchasing, please make sure that you have a suitable device and software for opening and printing the files.
We cannot guarantee compatibility with every device, operating system, printer, or software application.
If you are unsure about a product’s file format or compatibility, please contact us before purchasing.
6. Printing and Colors
Our products are designed to be printed, but the final appearance may vary depending on your:
- Printer
- Ink or toner
- Paper
- Printer settings
- Monitor
- Device
- Color settings
Because of these differences, we cannot guarantee that printed colors will exactly match the colors shown on your screen.
7. Personal and Educational Use
Unless otherwise stated in the individual product listing, your purchase gives you a limited, non-exclusive, non-transferable license to use the purchased files for personal and educational purposes.
You may:
- Download the files you purchased
- Print the files for your own use
- Use printed materials for family activities
- Use printed materials in your own classroom
- Use printed materials for homeschool activities
- Use the printed materials with children in educational or creative activities
8. Classroom Use
Teachers, educators, homeschoolers, and other adults may print purchased materials for use with their own students or children.
However, the original digital files must not be distributed to students, parents, colleagues, or other third parties.
For example, you may print a template for students to use, but you may not upload the original digital file to a website, shared drive, class portal, or social media platform for others to download.
9. Commercial Use
Unless a product listing specifically grants commercial rights, Kiddy Play Studio products are not licensed for commercial resale or redistribution.
You may not use our digital files to create a competing printable product, template collection, digital download, or similar product for sale.
If you have a specific commercial-use request, please contact us before using the product for commercial purposes.
10. Copyright and Intellectual Property
All designs and content created by Kiddy Play Studio remain the intellectual property of Kiddy Play Studio or their respective rights holders.
This includes:
- Craft templates
- Illustrations
- Printable designs
- Graphics
- Product images
- Product previews
- Website content
- Text
- Logos
- Digital files
Purchasing a product does not transfer copyright or ownership of the design to you.
11. Sharing and Redistribution
You may not:
- Resell our digital files
- Give the original files to another person
- Upload files to file-sharing websites
- Share files through social media
- Distribute files through email or messaging groups
- Include our files in another digital product
- Offer our files as free downloads
- Claim our designs as your own
You may share a link to the Kiddy Play Studio website or product listing instead of sharing the purchased files themselves.
12. Modifying Our Files
You may make reasonable modifications to a printed template for your own personal or educational activity.
However, you may not modify our digital files and then sell, redistribute, or publicly share the modified digital files.
13. Refunds and Cancellations
Because our products are digital products that may be accessed or downloaded immediately, digital purchases are generally final and non-refundable once the files have been accessed or downloaded, except where a refund is required by applicable law.
If you experience a problem with your purchase, please contact us before assuming that the purchase cannot be resolved.
Where appropriate, we may provide a replacement file, corrected file, or another reasonable solution for genuine technical problems.
14. Technical Problems
We are happy to assist with reasonable problems relating to our digital files.
Before contacting us, please check that:
- The file has downloaded completely.
- You are using appropriate software to open it.
- Your device supports the file format.
- Your printer is functioning correctly.
- Your printer settings are appropriate for the product.
If you continue to experience problems, please contact us with a description of the issue and, where possible, a screenshot.
15. Craft Materials and Adult Supervision
Some of our craft activities may involve scissors, glue, paper, coloring materials, or other craft supplies.
Adults are responsible for choosing appropriate materials and supervising children during craft activities.
Kiddy Play Studio is not responsible for injuries or damage resulting from the use or misuse of craft supplies, tools, or activities.
16. Pricing and Payments
All prices displayed on the website are subject to change.
We reserve the right to correct pricing, product information, or other errors when they occur.
Payments are processed using the payment options available at checkout.
A purchase is considered complete once payment has been successfully processed and the order has been accepted by our store.
17. Customer Accounts
Some features of our website may allow you to create a customer account.
If you create an account, you are responsible for maintaining the confidentiality of your login information.
You agree to provide accurate information and to notify us if you believe your account has been accessed without authorization.
We may restrict or suspend access where we reasonably believe an account has been used fraudulently, unlawfully, or in violation of these Terms & Conditions.
18. Use of Our Website
You agree to use the Kiddy Play Studio website responsibly and lawfully.
You may not:
- Attempt to gain unauthorized access to our website
- Interfere with the operation or security of the website
- Introduce malicious software
- Attempt to obtain products or services without authorization
- Copy substantial website content without permission
- Use our website for unlawful or fraudulent purposes
19. Third-Party Websites and Services
Our website may contain links to websites, platforms, or services operated by third parties.
These may include social media platforms, payment services, or other external resources.
Kiddy Play Studio does not control these third-party websites and is not responsible for their content, availability, security, or policies.
Your use of third-party services is subject to their own terms and policies.
20. Website Content and Availability
We make reasonable efforts to keep our website available and our information accurate.
However, we cannot guarantee that the website will always be available, error-free, or free from interruptions.
We may update, modify, suspend, or discontinue any part of the website or our product offerings at any time.
21. Limitation of Liability
To the extent permitted by applicable law, Kiddy Play Studio will not be responsible for losses or problems resulting from circumstances outside our reasonable control.
This may include problems caused by:
- Internet or network interruptions
- Device failure
- Printer problems
- Software incompatibility
- Third-party service interruptions
- Improper use of purchased products
- Unauthorized access resulting from circumstances outside our reasonable control
Nothing in these Terms & Conditions is intended to exclude rights or protections that cannot legally be excluded.
22. Changes to These Terms
We may update these Terms & Conditions from time to time to reflect changes to our website, products, services, or applicable requirements.
When changes are made, we will update the Last updated date at the top of this page.
Your continued use of the website after changes are posted means that you accept the updated Terms & Conditions, to the extent permitted by applicable law.
23. Governing Law
These Terms & Conditions are intended to be interpreted in accordance with applicable laws and regulations.
Where mandatory consumer protection or other legal rights apply, nothing in these Terms & Conditions is intended to remove or limit those rights.
24. Contact Us
If you have questions about these Terms & Conditions, a product, an order, or a digital download, please contact us through the contact information provided on the Kiddy Play Studio website.